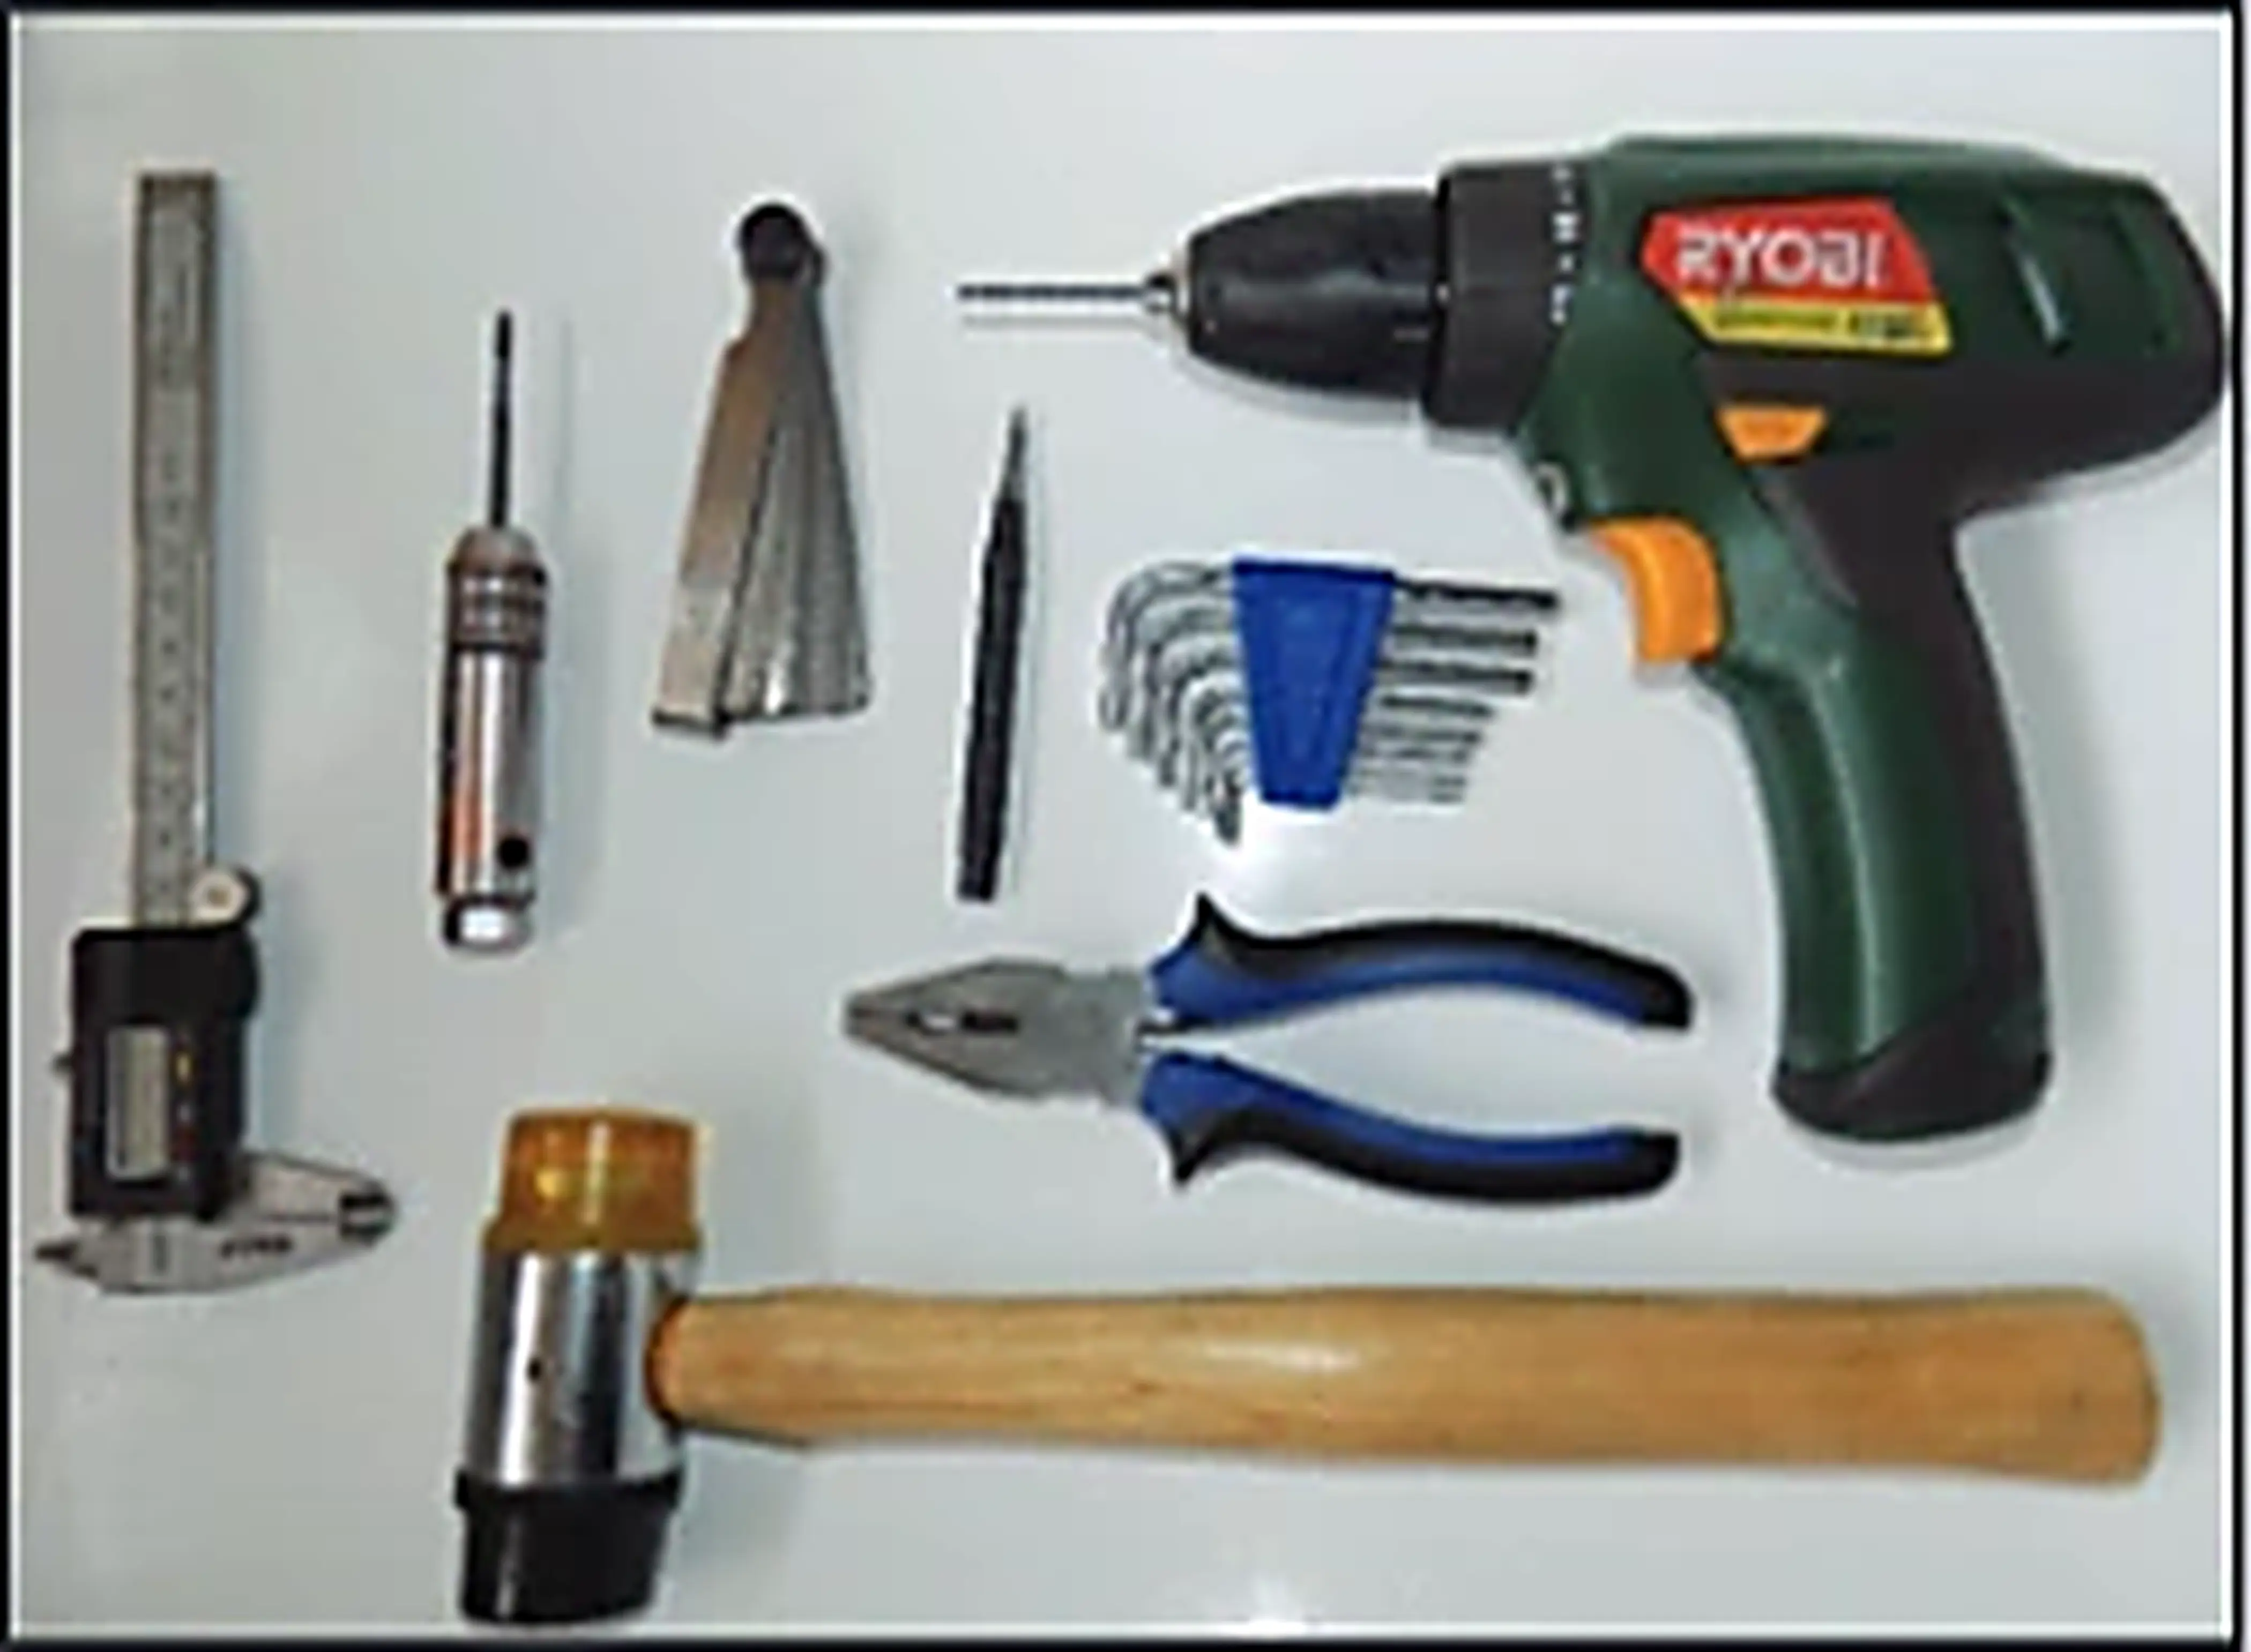
Tools Required
Prepare an electric drill, 3mm Allen key, pin punch or pen/marker, small mallet (optional), 3mm tapping tool, 2.5mm or 2.6mm steel drill bit, pliers (optional), small vernier and feeler gauge. Wear the required safety equipment.
Use the approved installation process for shaft cleaning, measurement, bracket selection, positioning, fastening, alignment and continuity testing.
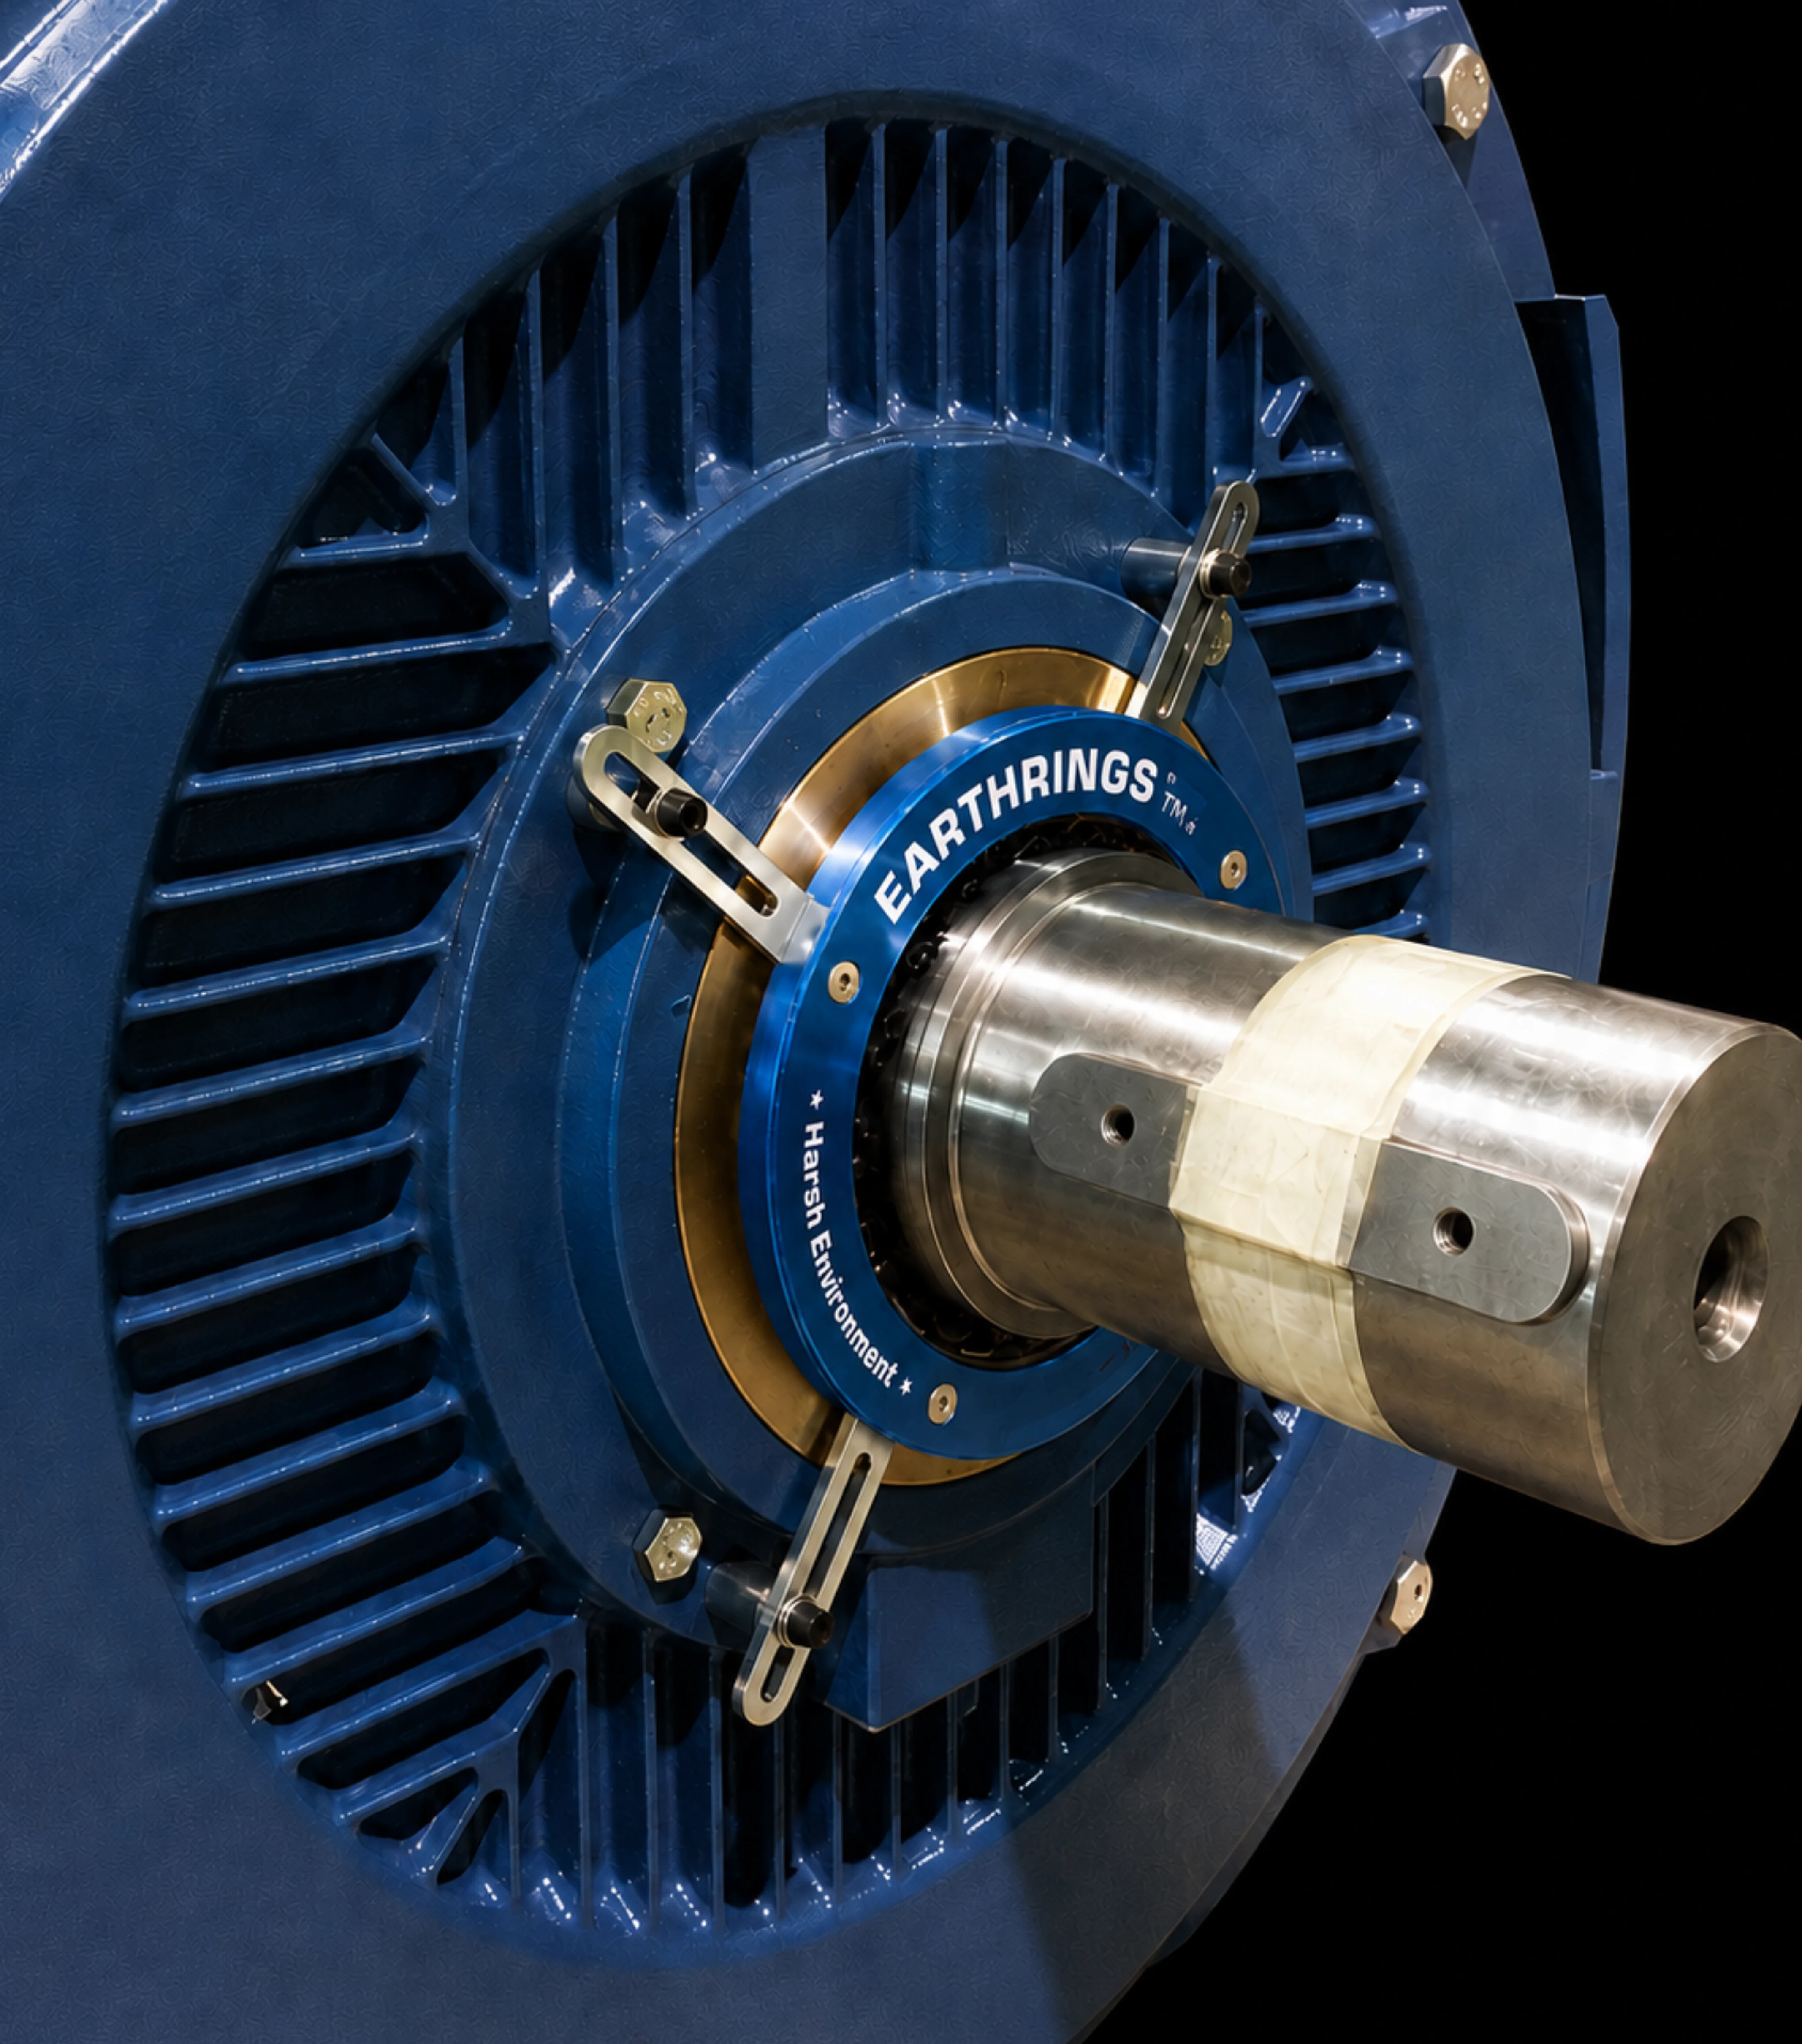
Follow the sequence below when fitting an Earthring. Safety equipment must be worn when using the required tools. The instructions and images below are based on the supplied Earthrings installation guide.
Prepare an electric drill, 3mm Allen key, pin punch or pen/marker, small mallet (optional), 3mm tapping tool, 2.5mm or 2.6mm steel drill bit, pliers (optional), small vernier and feeler gauge. Wear the required safety equipment.
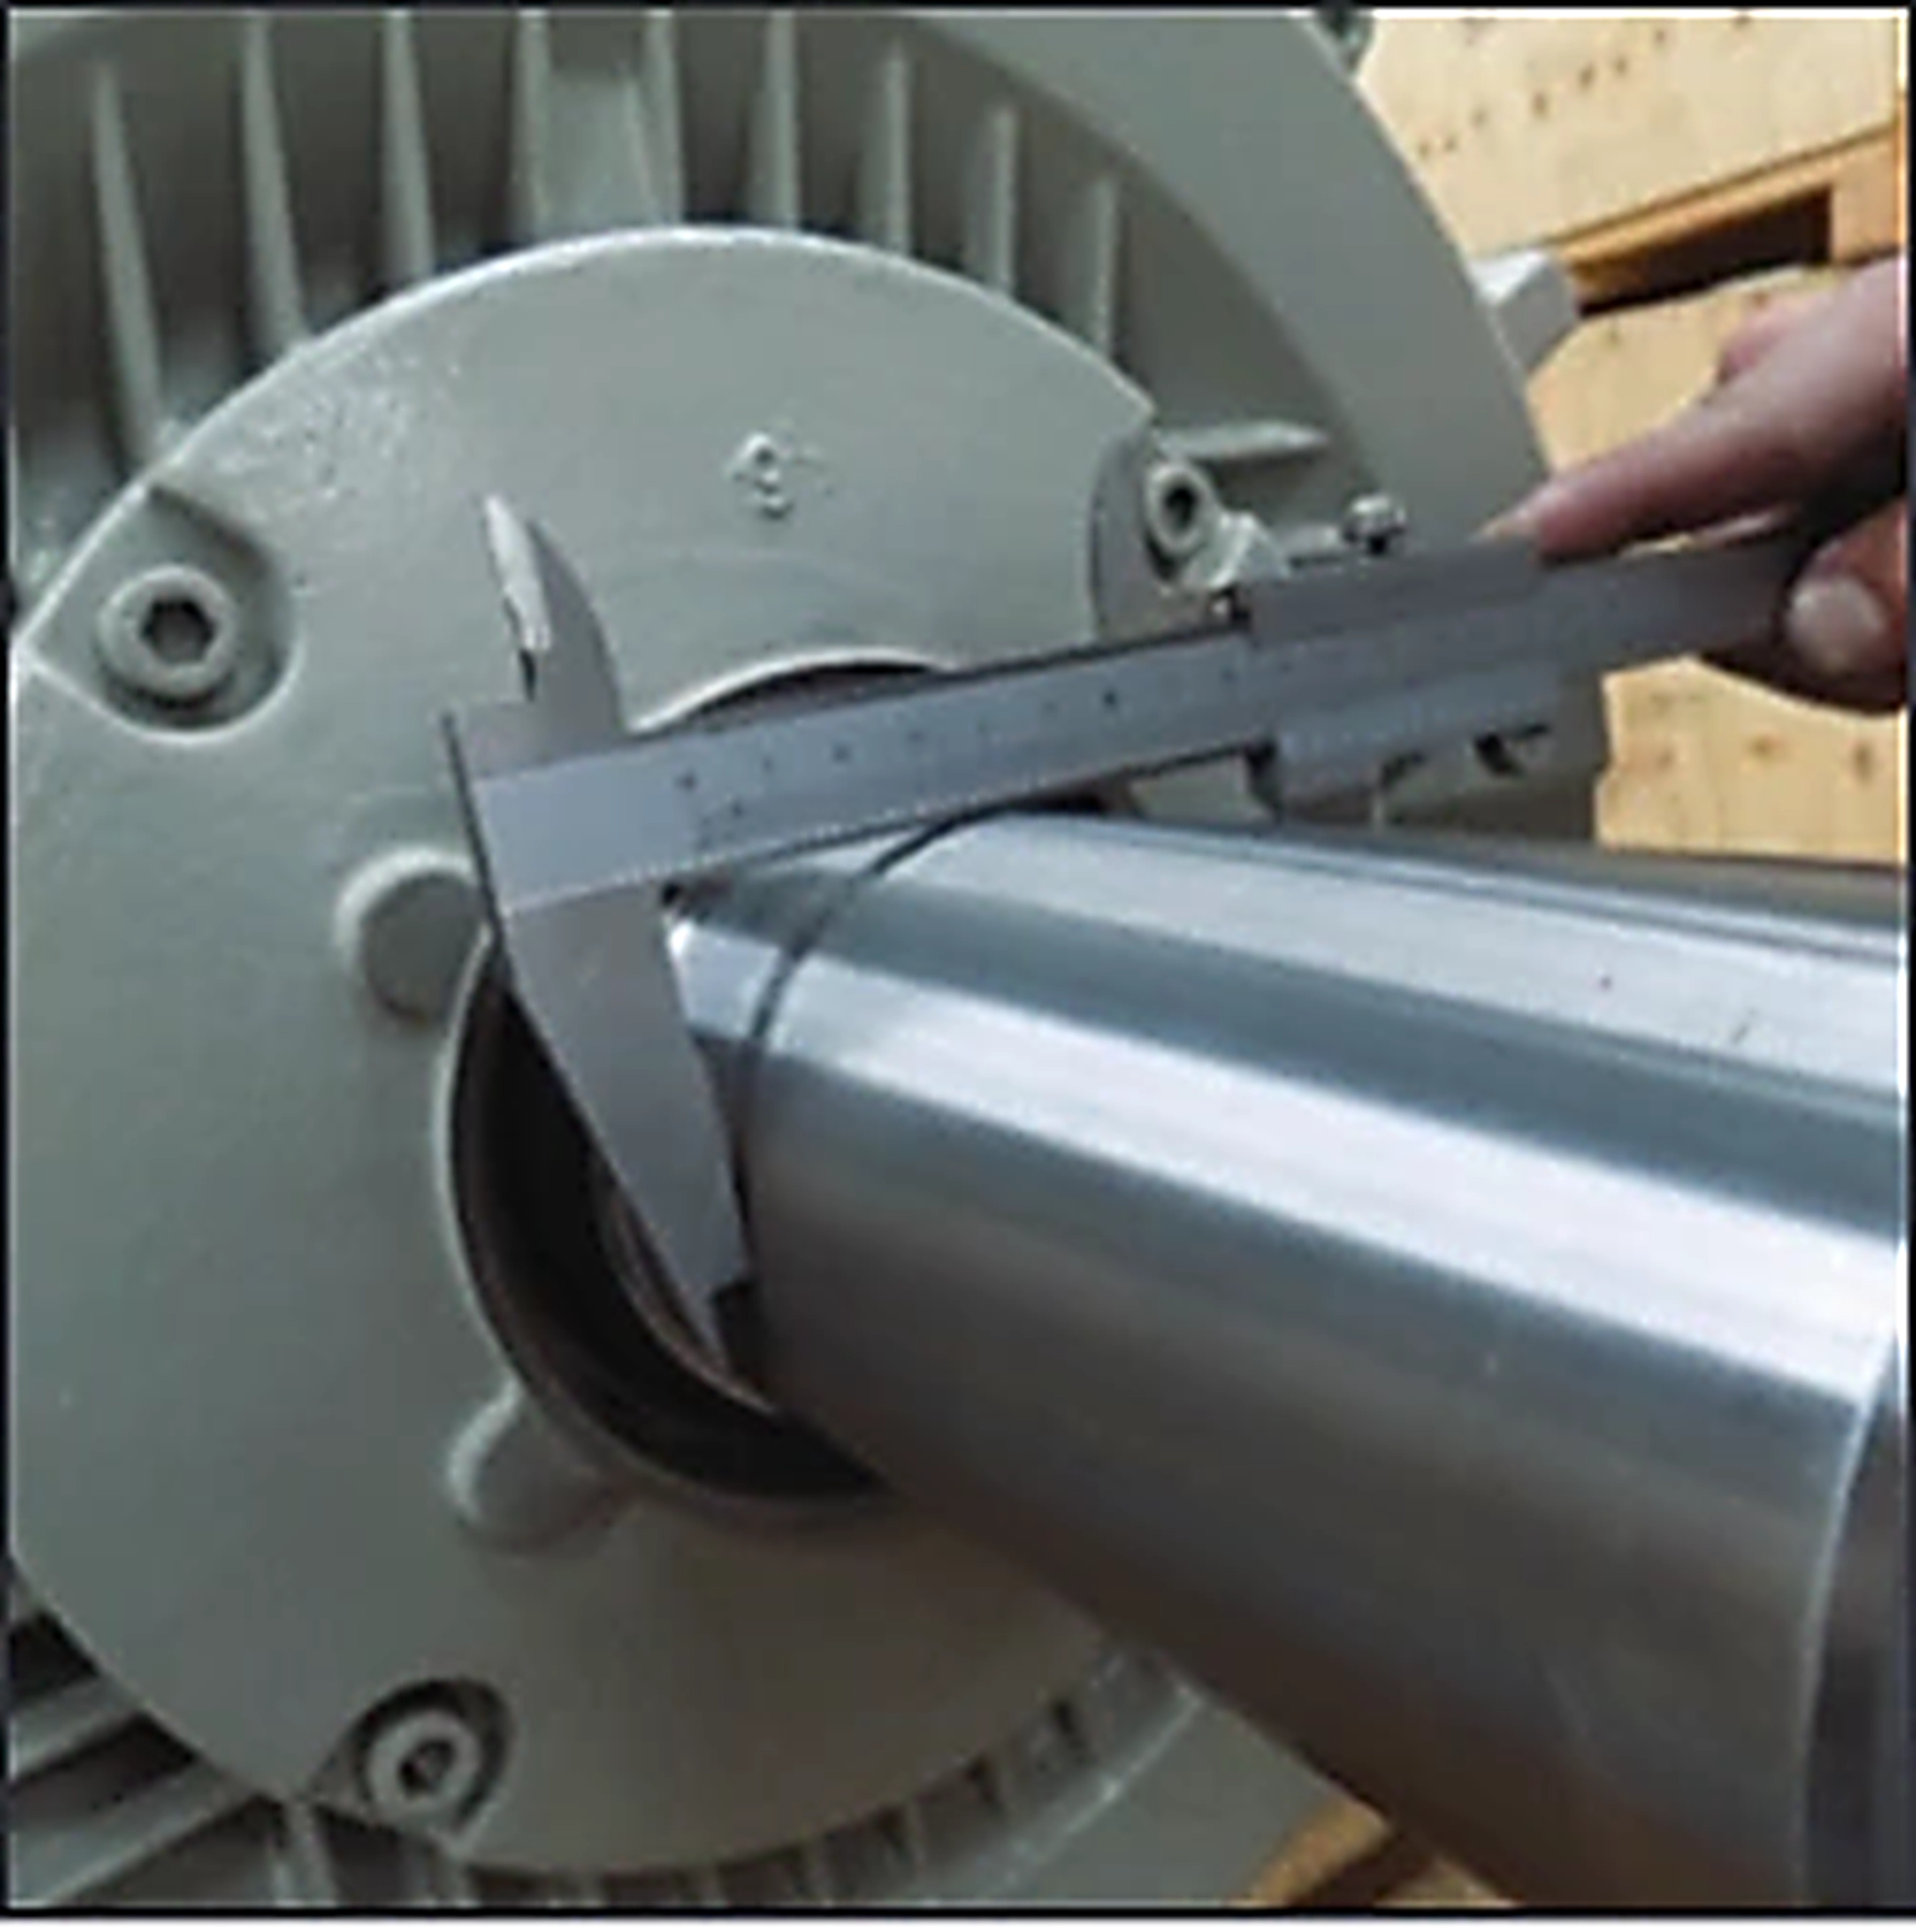
Clean the shaft, front of the motor and grease cover. Measure the shaft size to confirm that the Earthring will fit correctly.
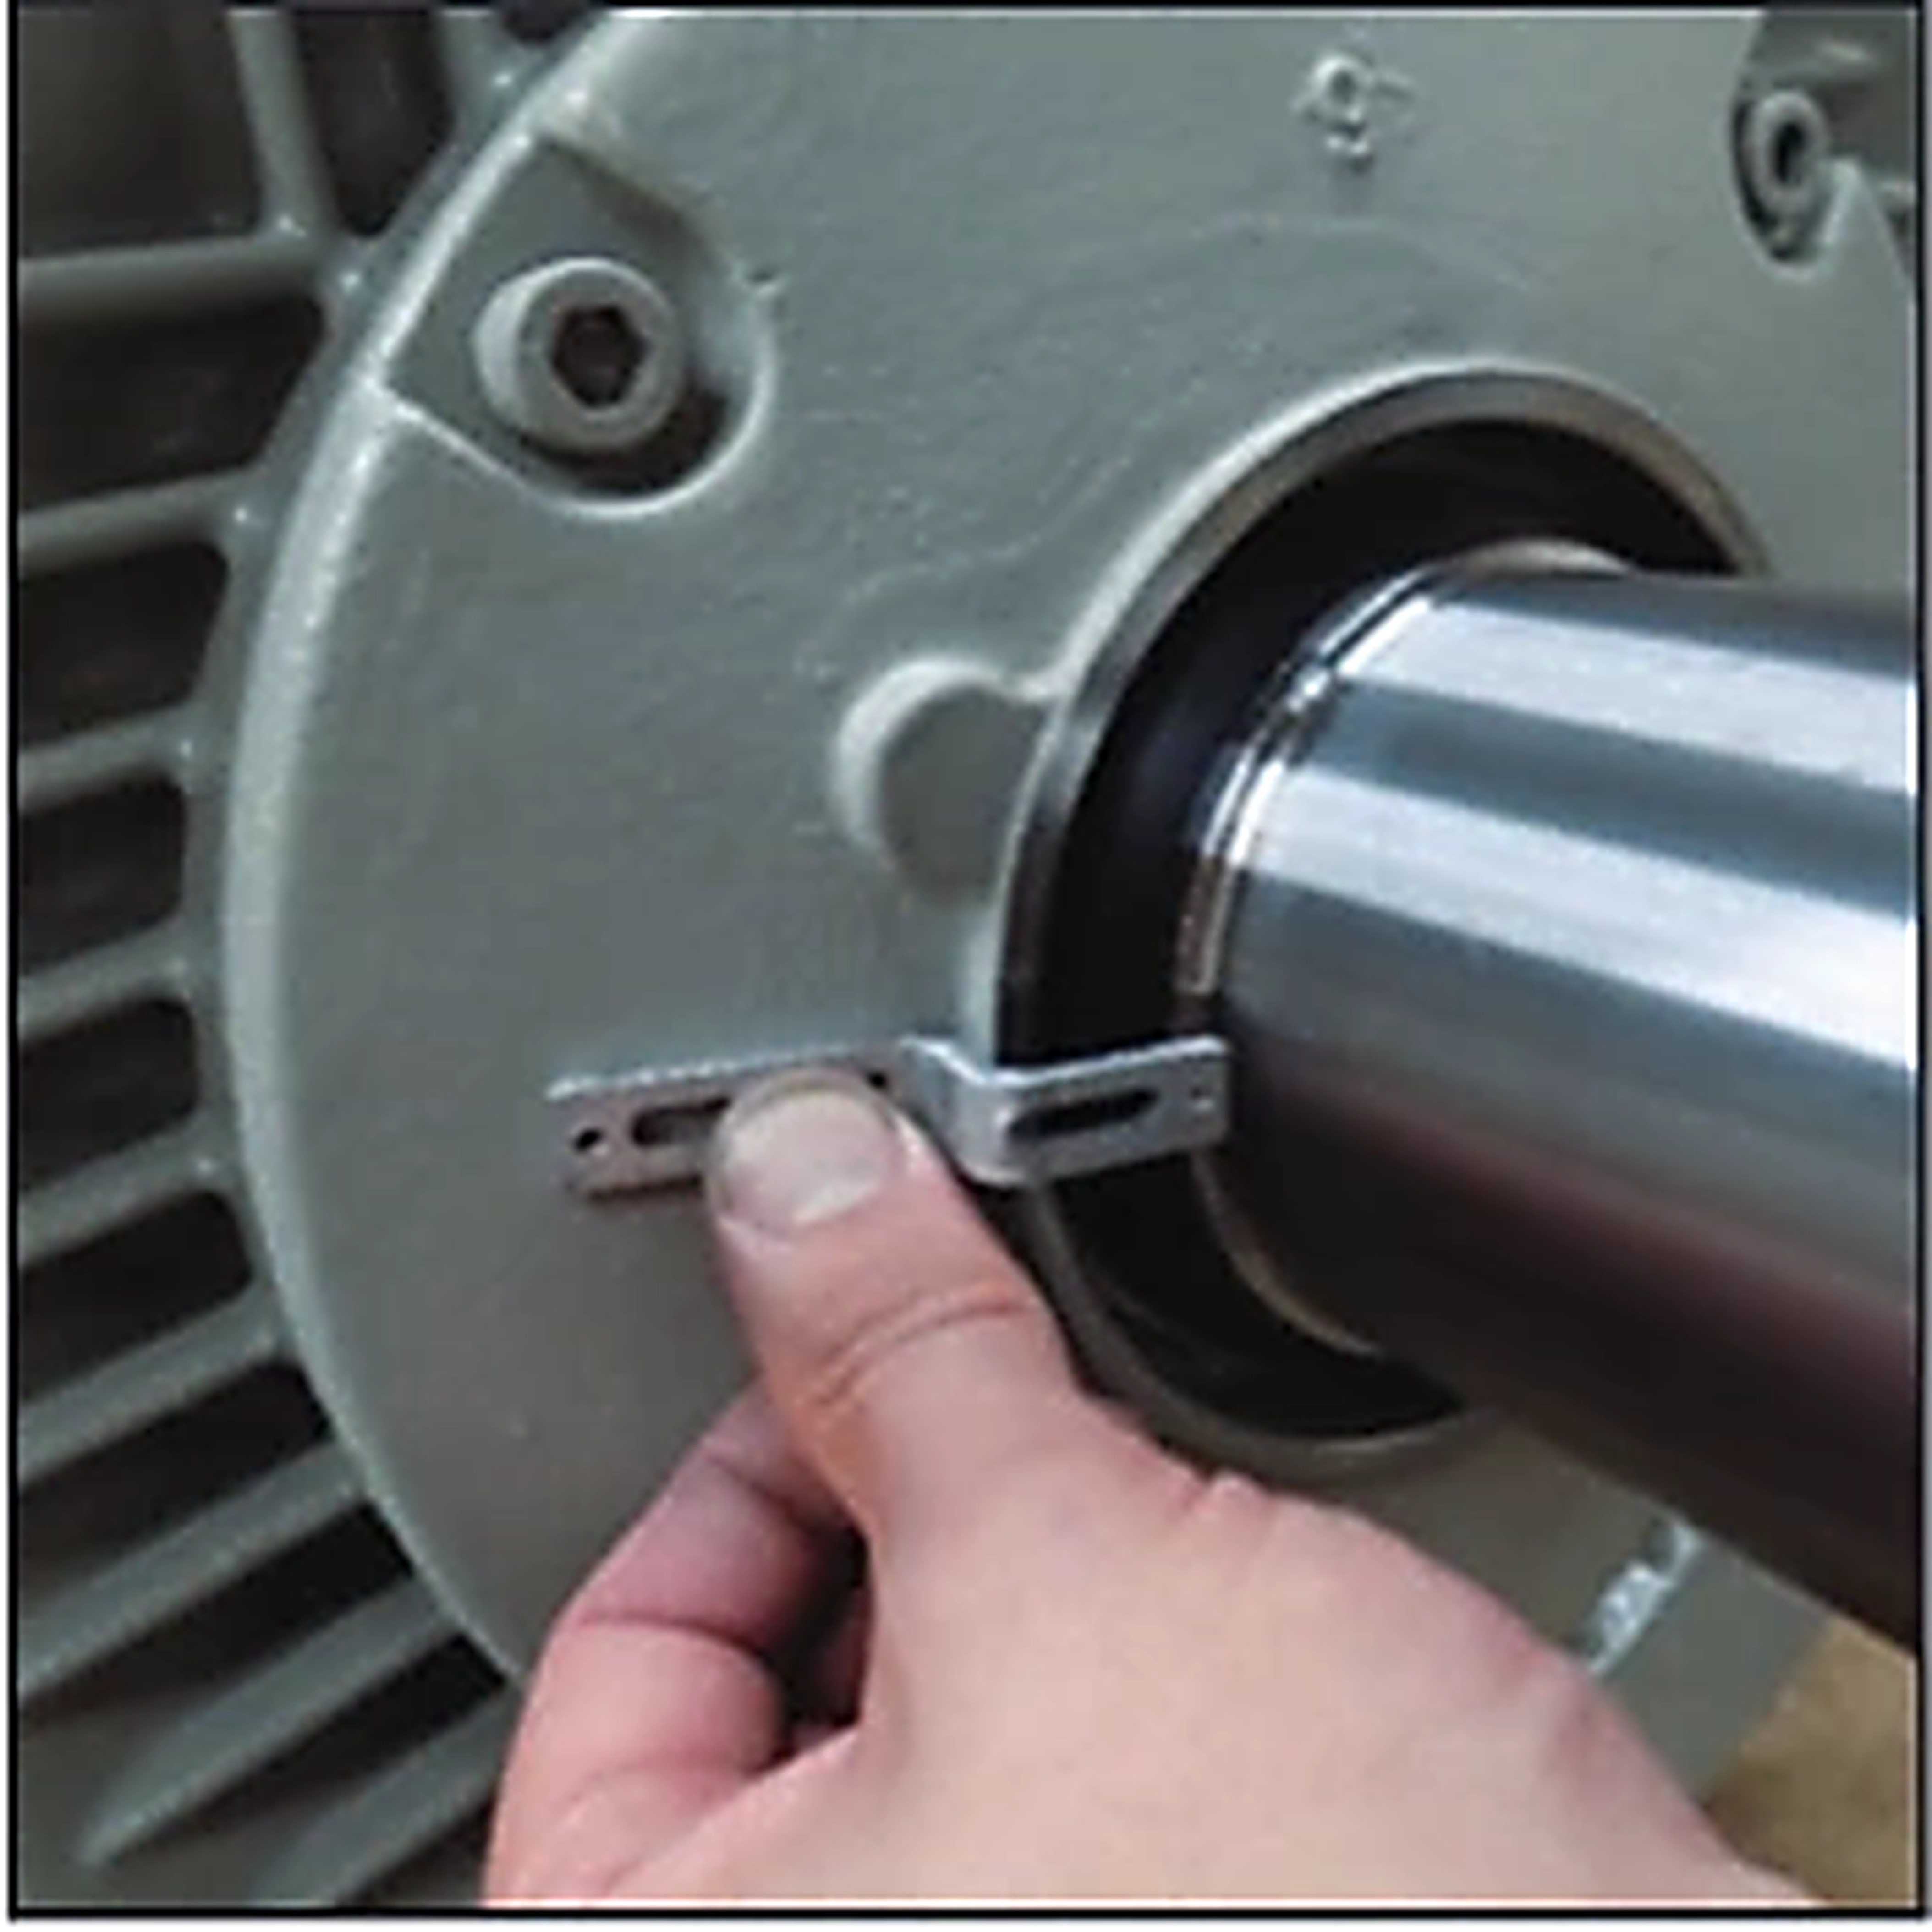
Place the different universal brackets against the motor and choose the bracket that best suits the application. Allow for the possible adjustments described in the later modification steps.
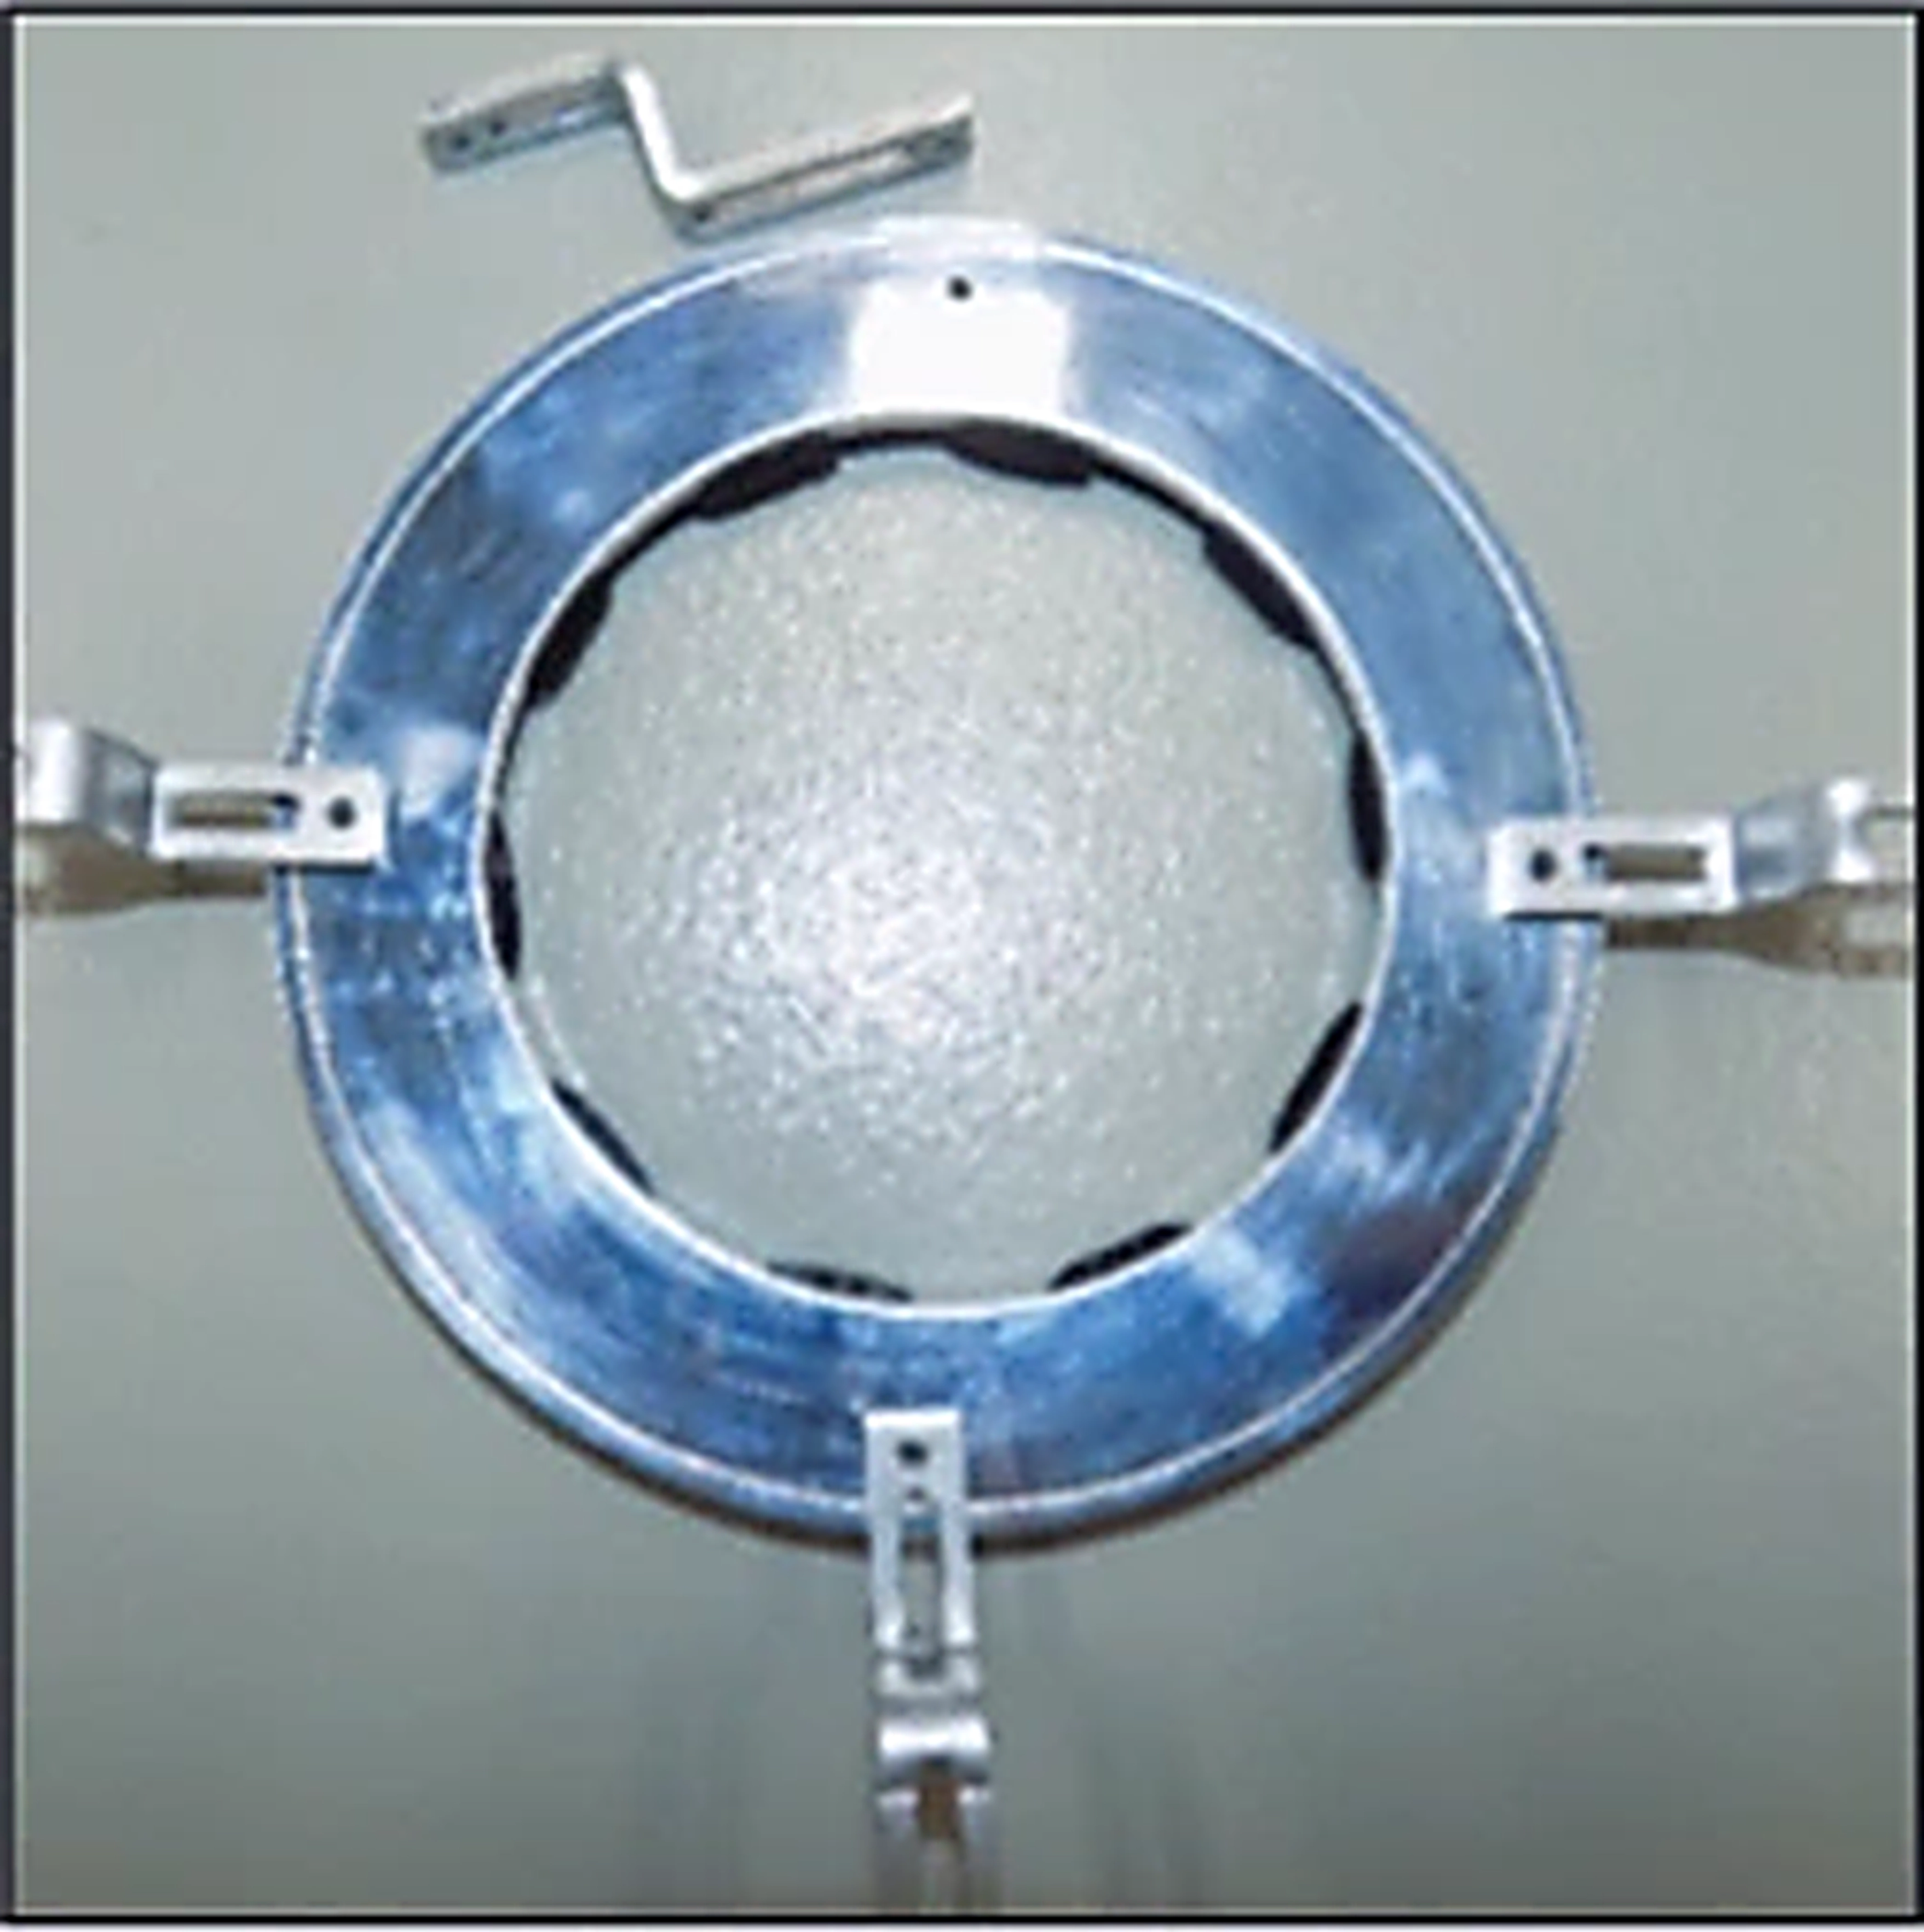
Once the correct universal bracket has been selected, fit the brackets securely to the Earthring.
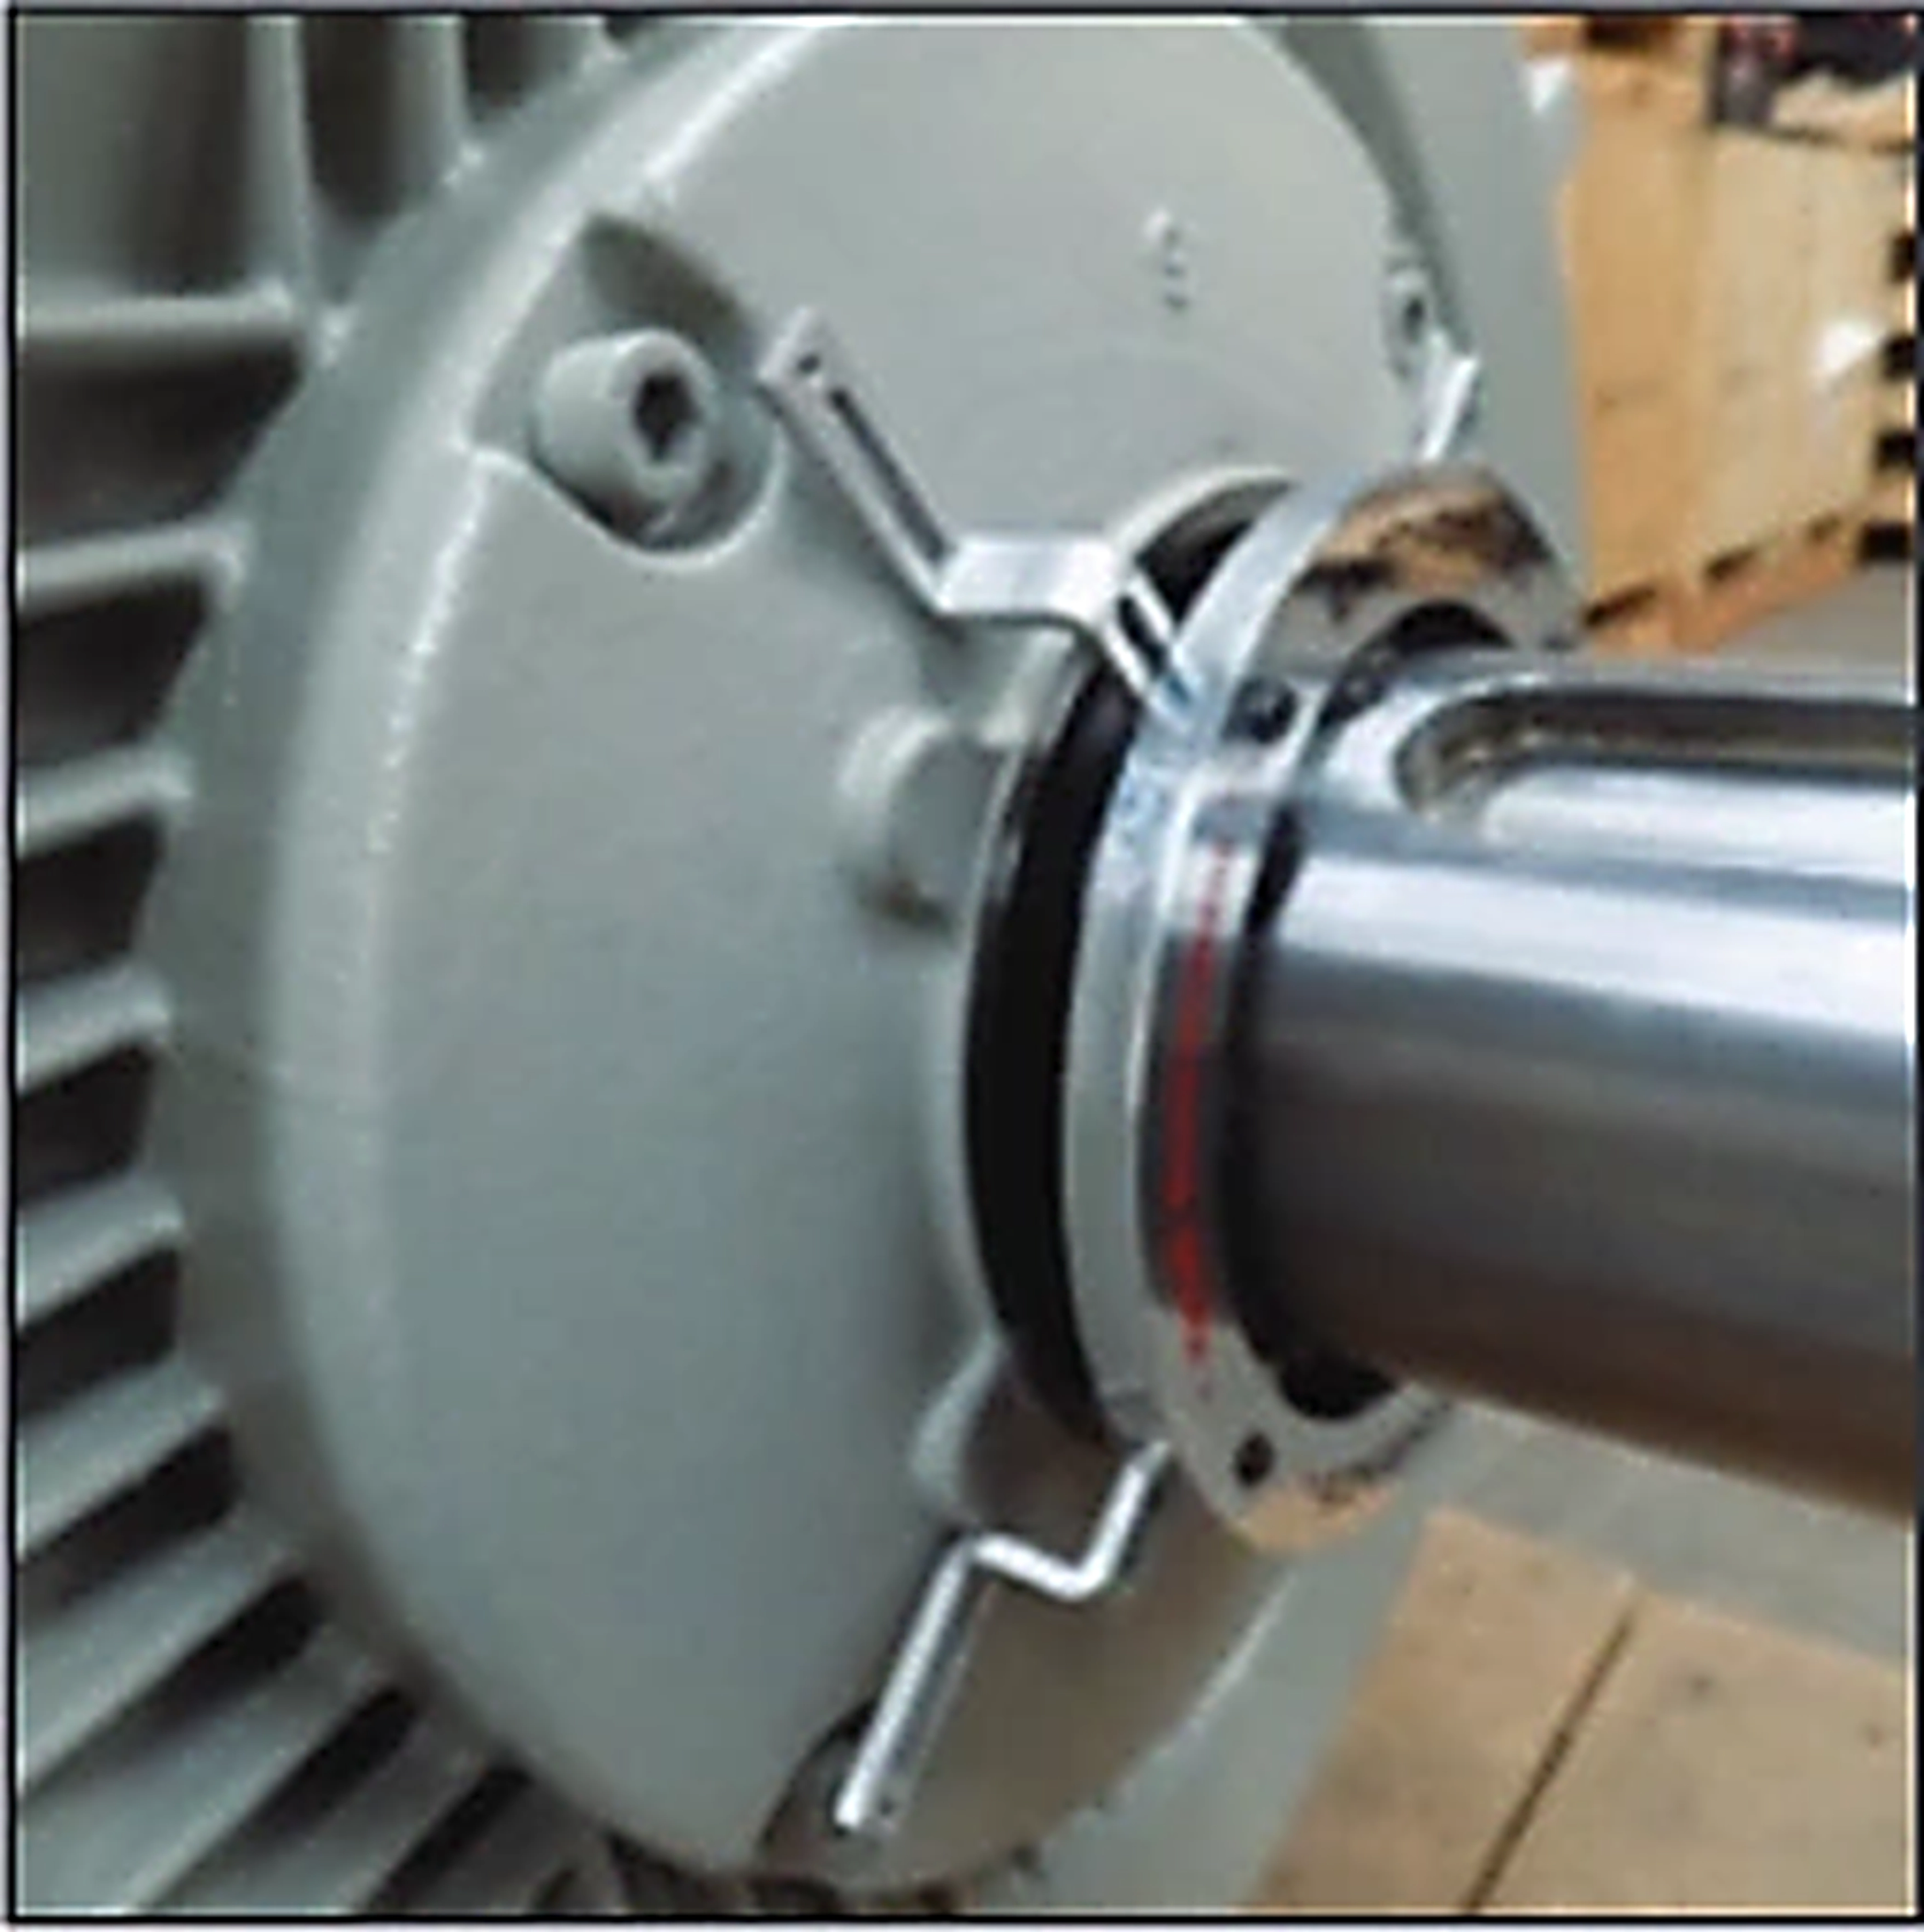
Place the Earthring with its brackets over the motor shaft so that its position can be checked and adjusted.
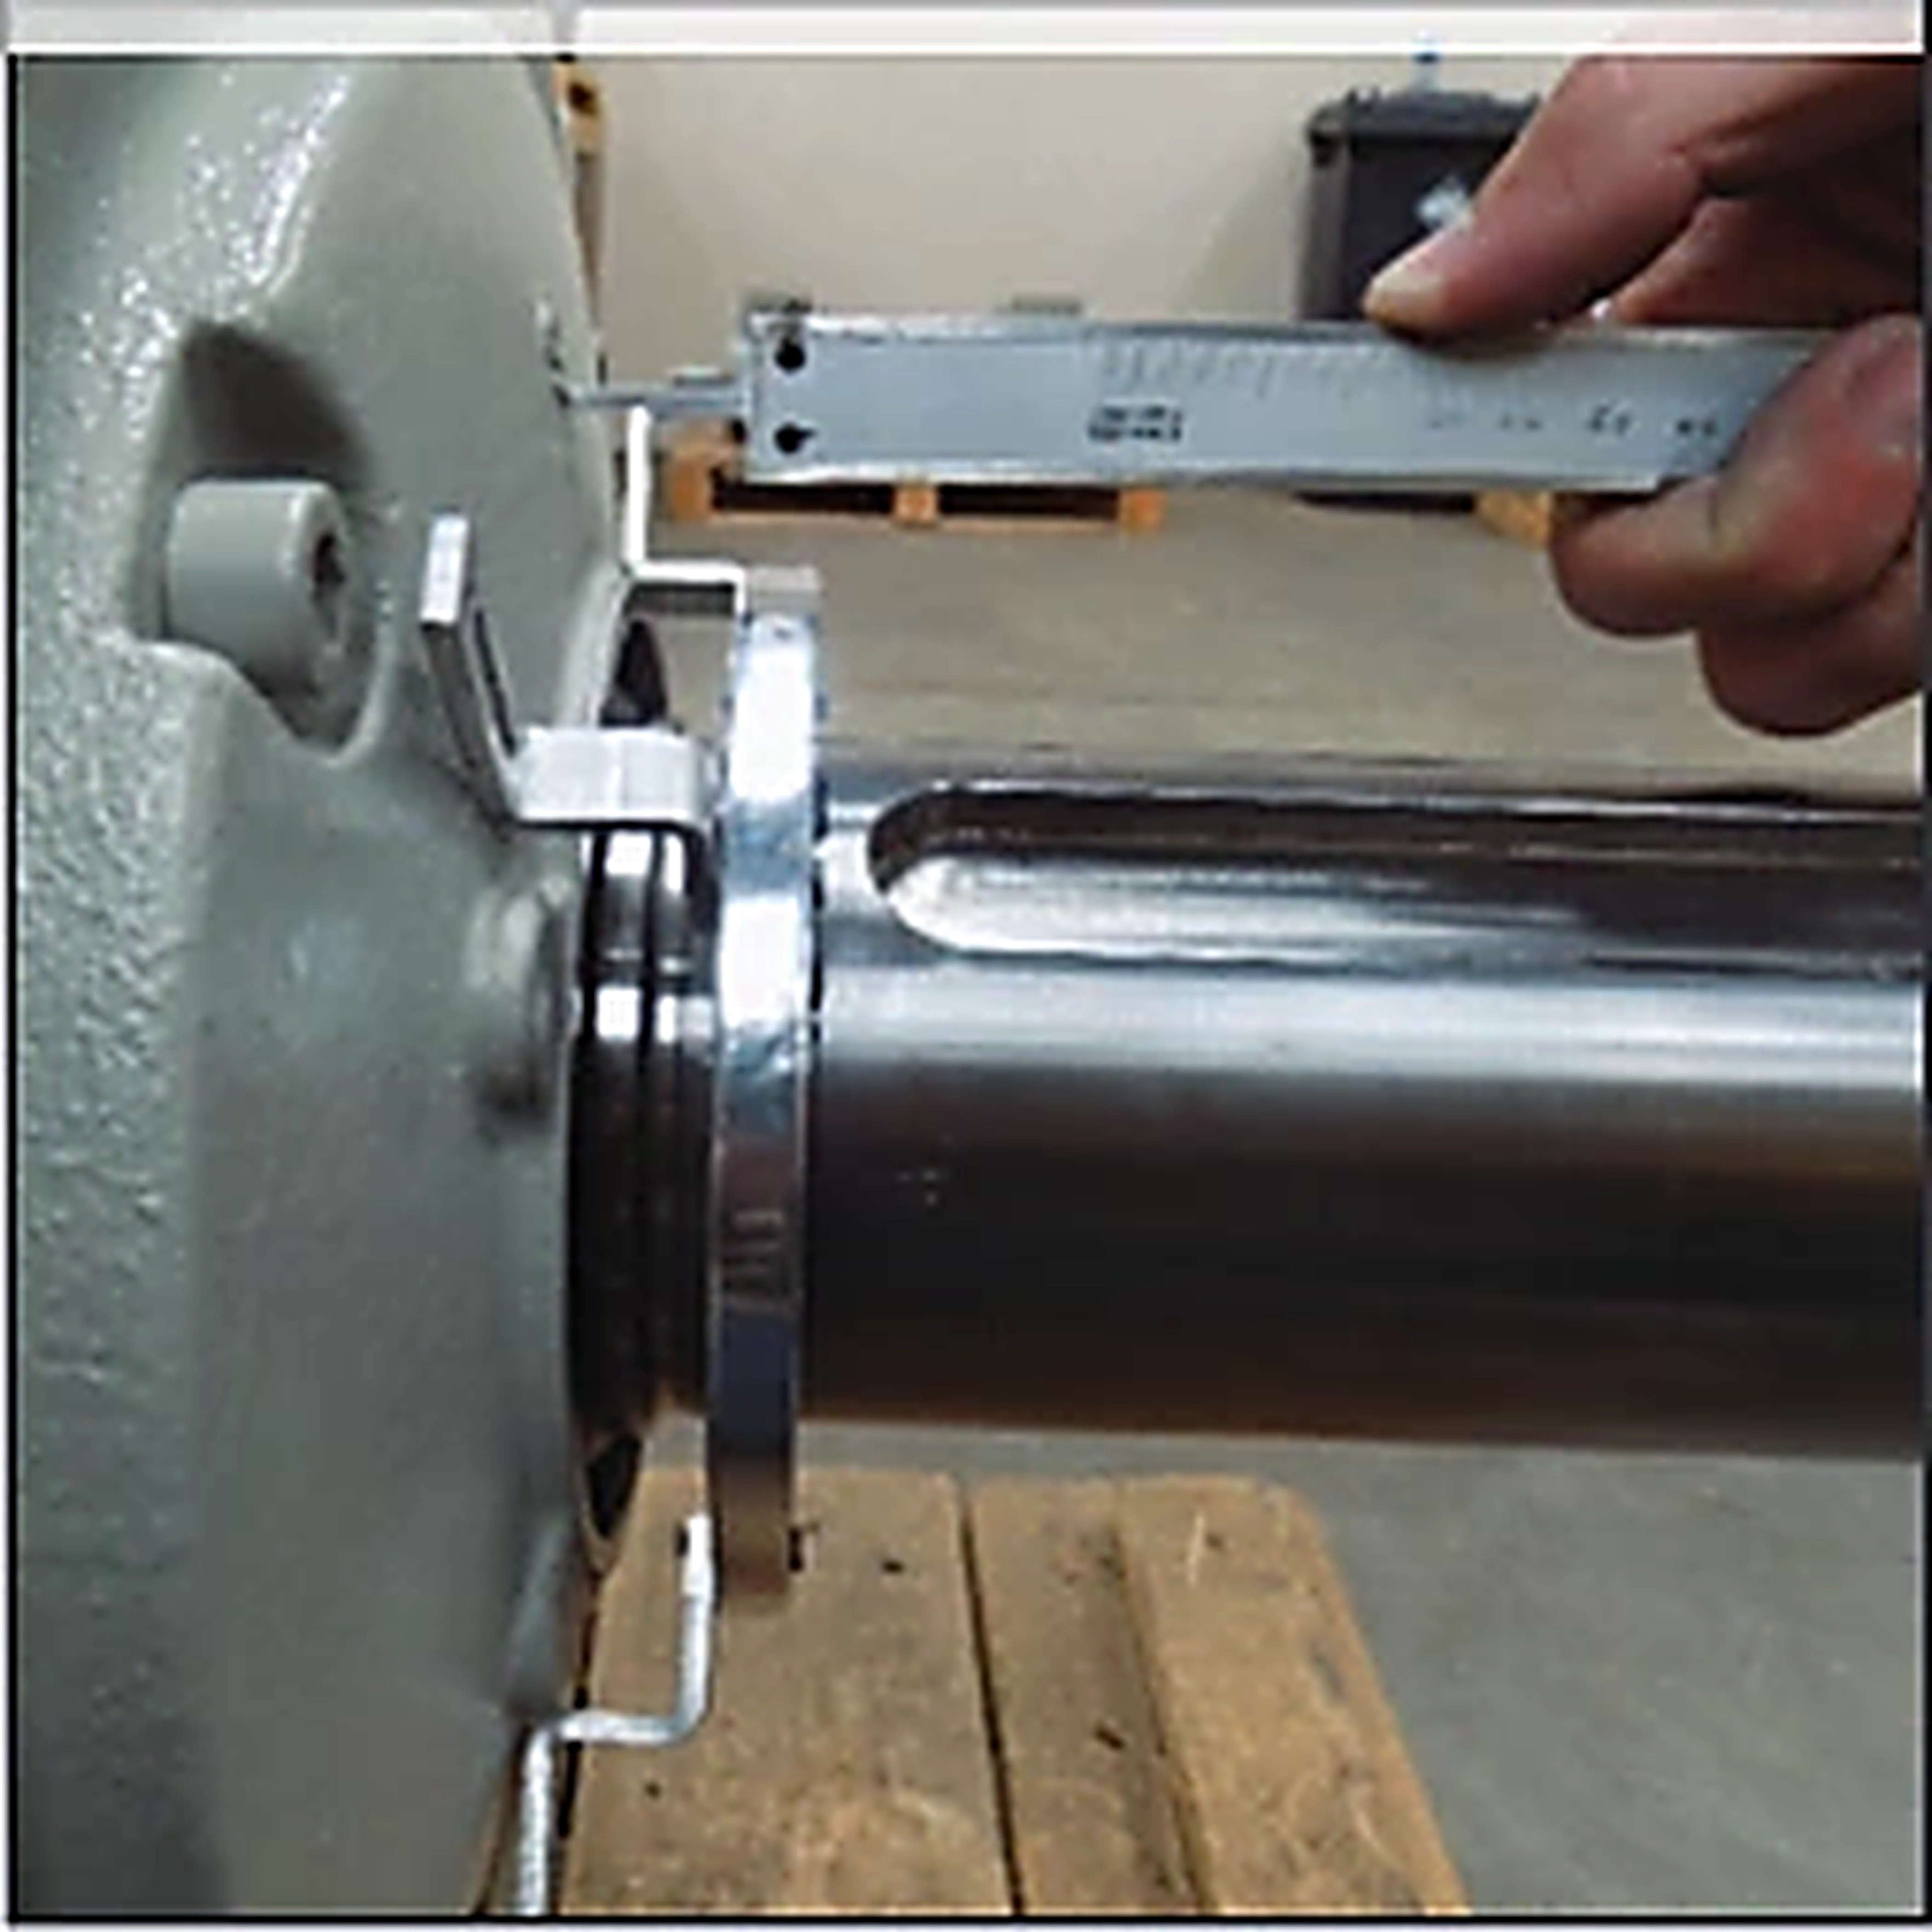
Keep the Earthring as close to the shaft shoulder as possible, but never closer than 1mm. A minimum 1mm gap is required to allow for shaft heat expansion.
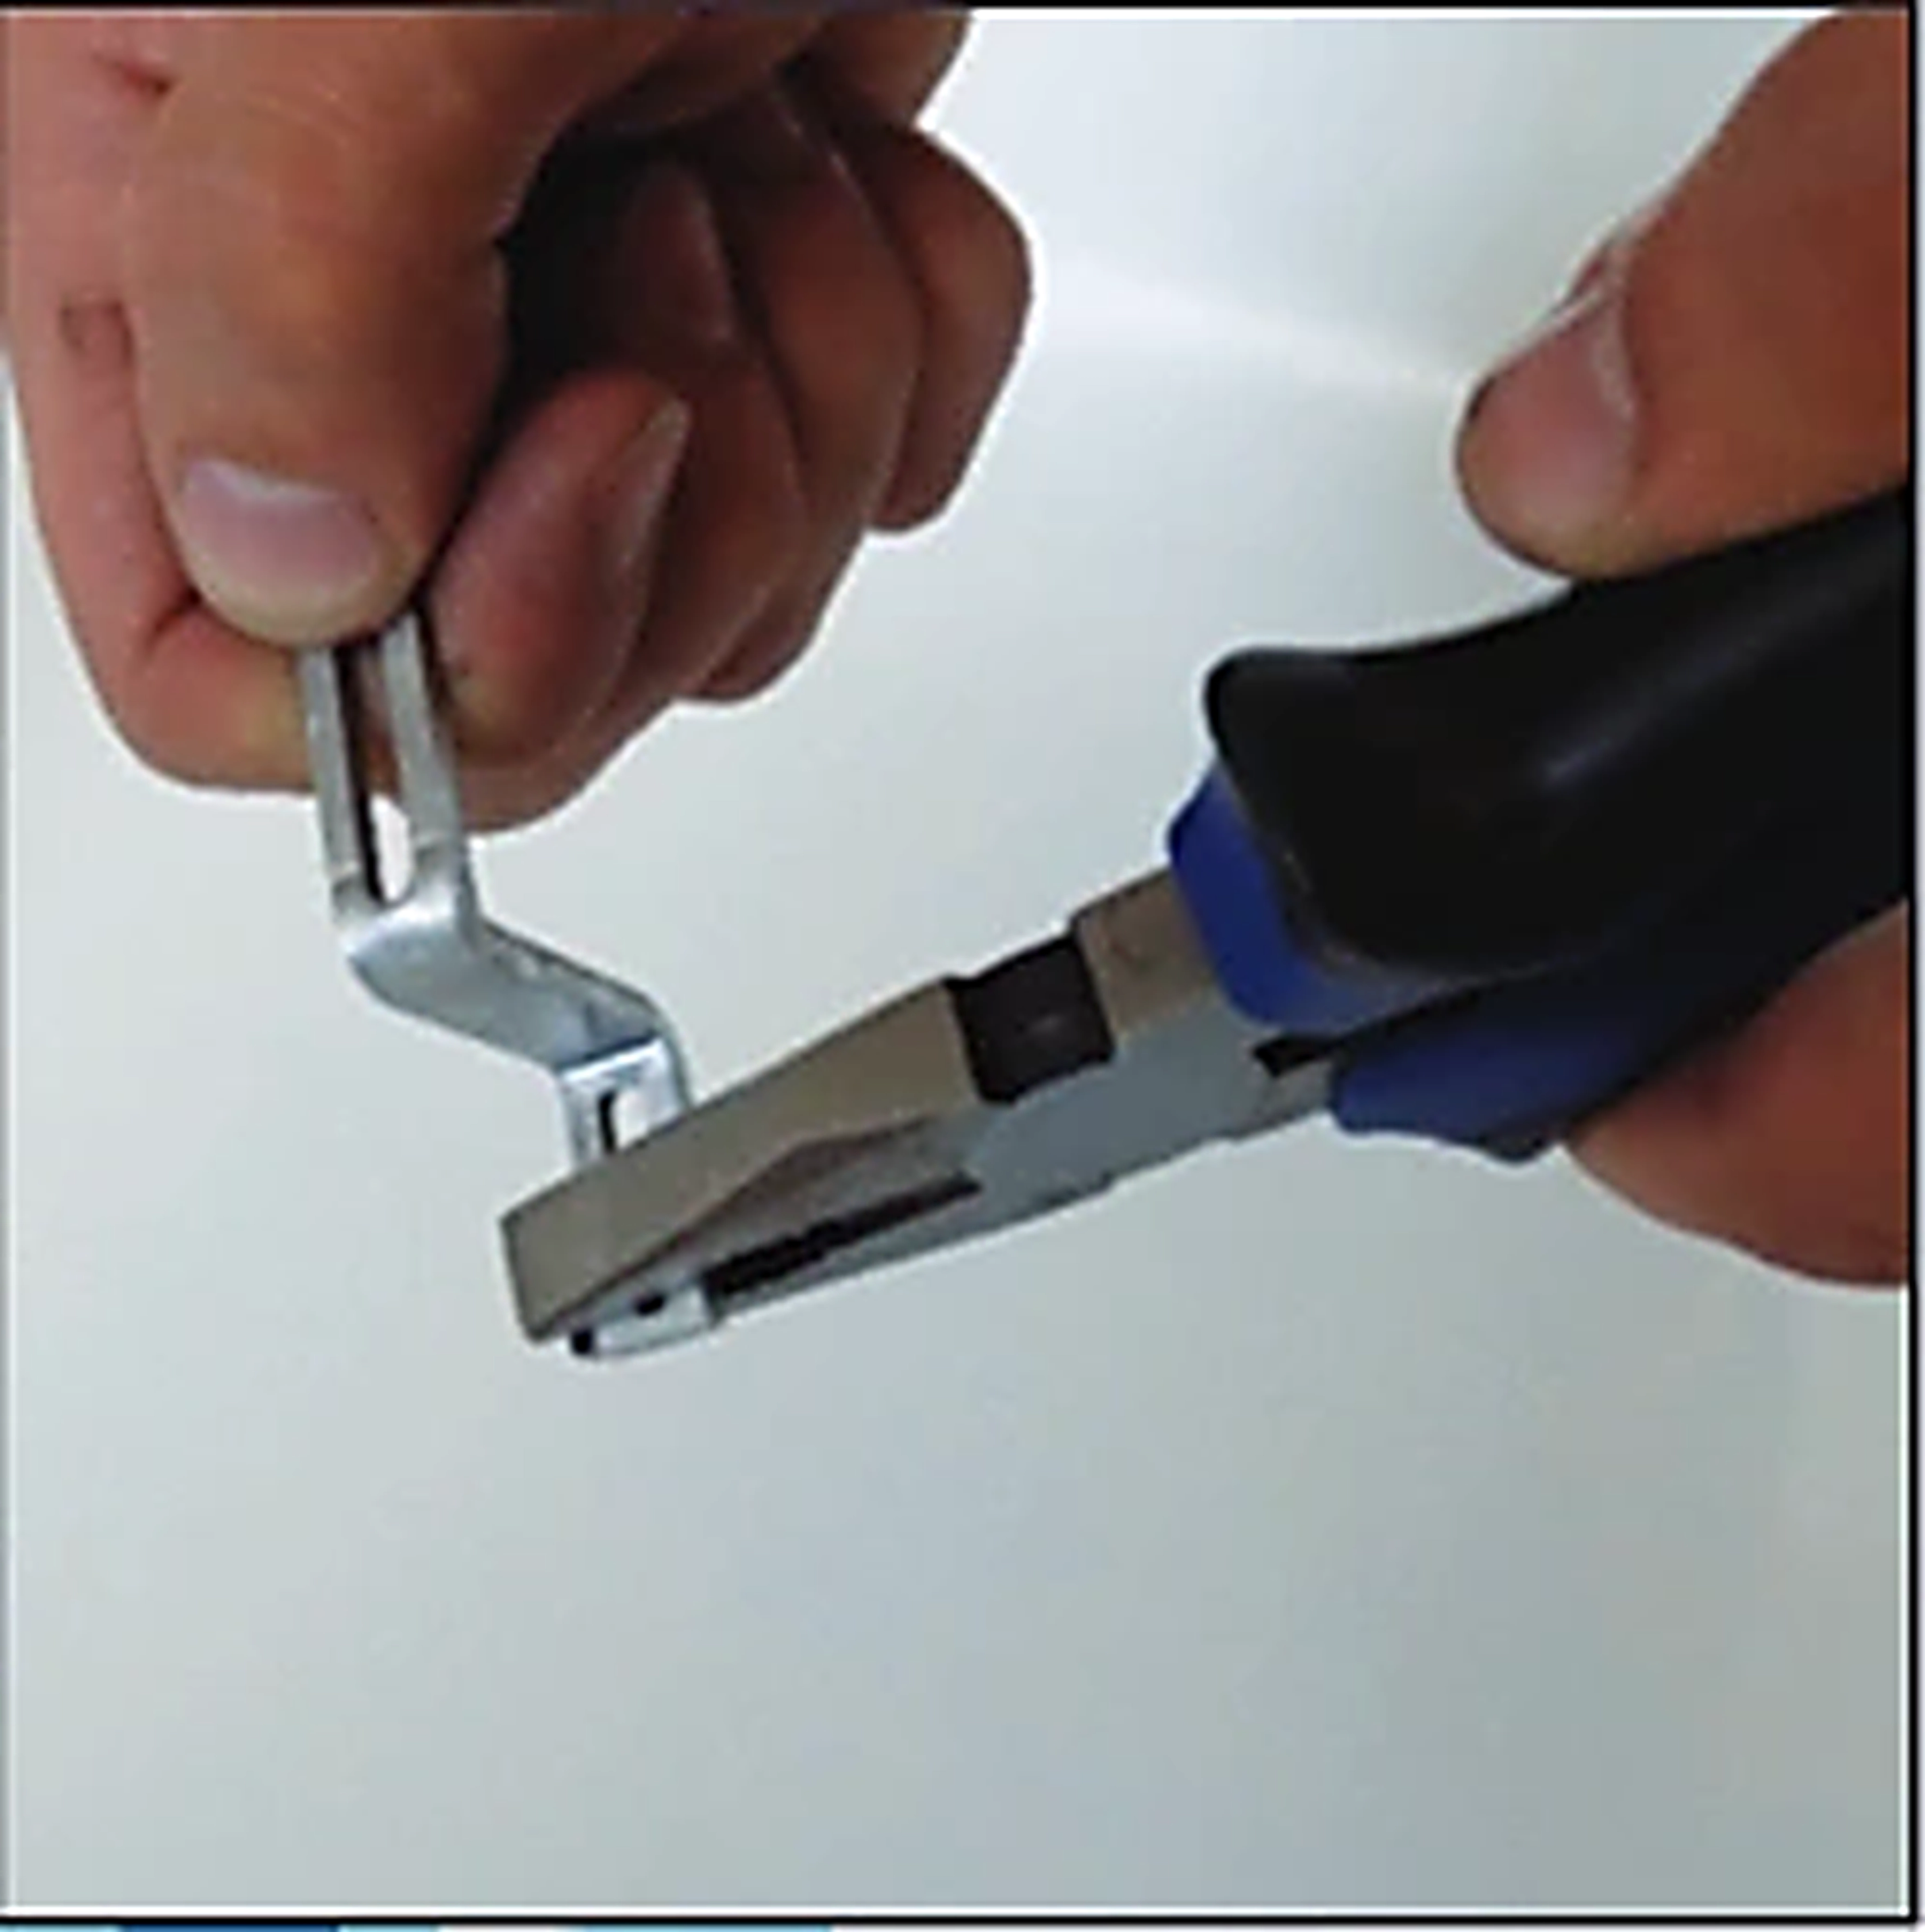
If required, bend the aluminium brackets by hand to achieve finer adjustment and a better Earthring fit.
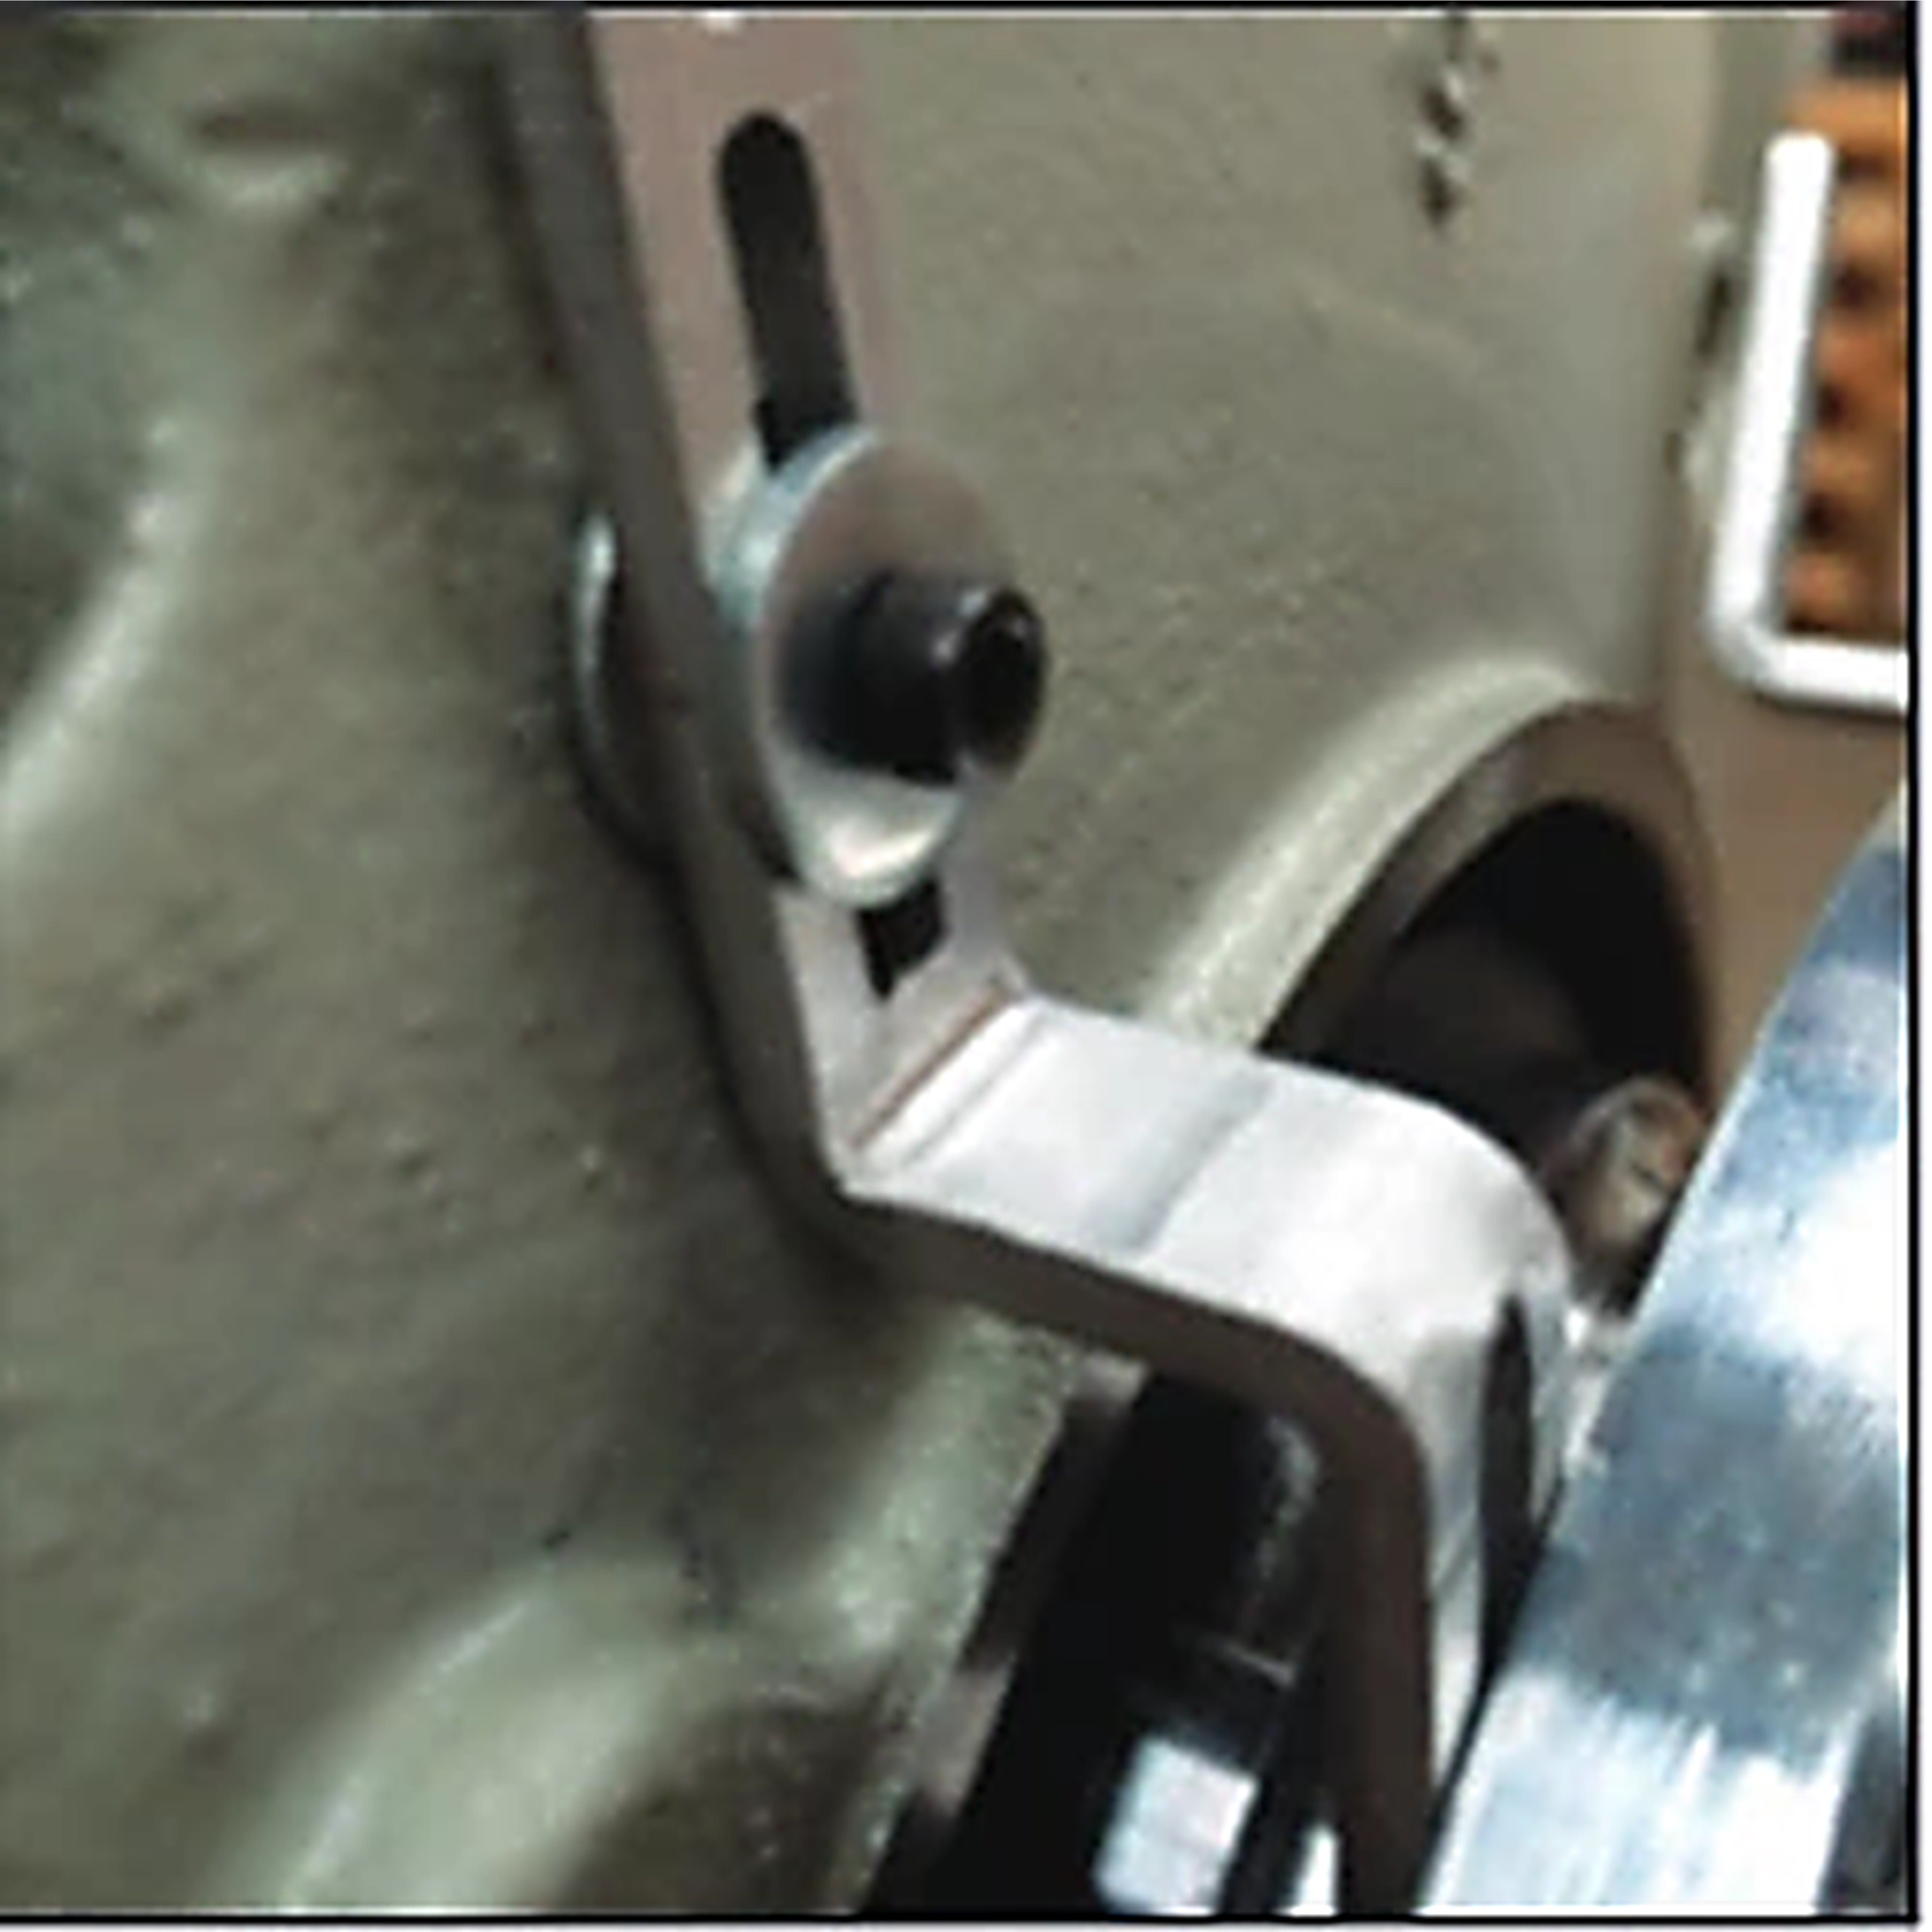
If the position is not correct, add an extra washer behind the bracket or Earthring to move the Earthring further forward. A different length cap screw may be required.
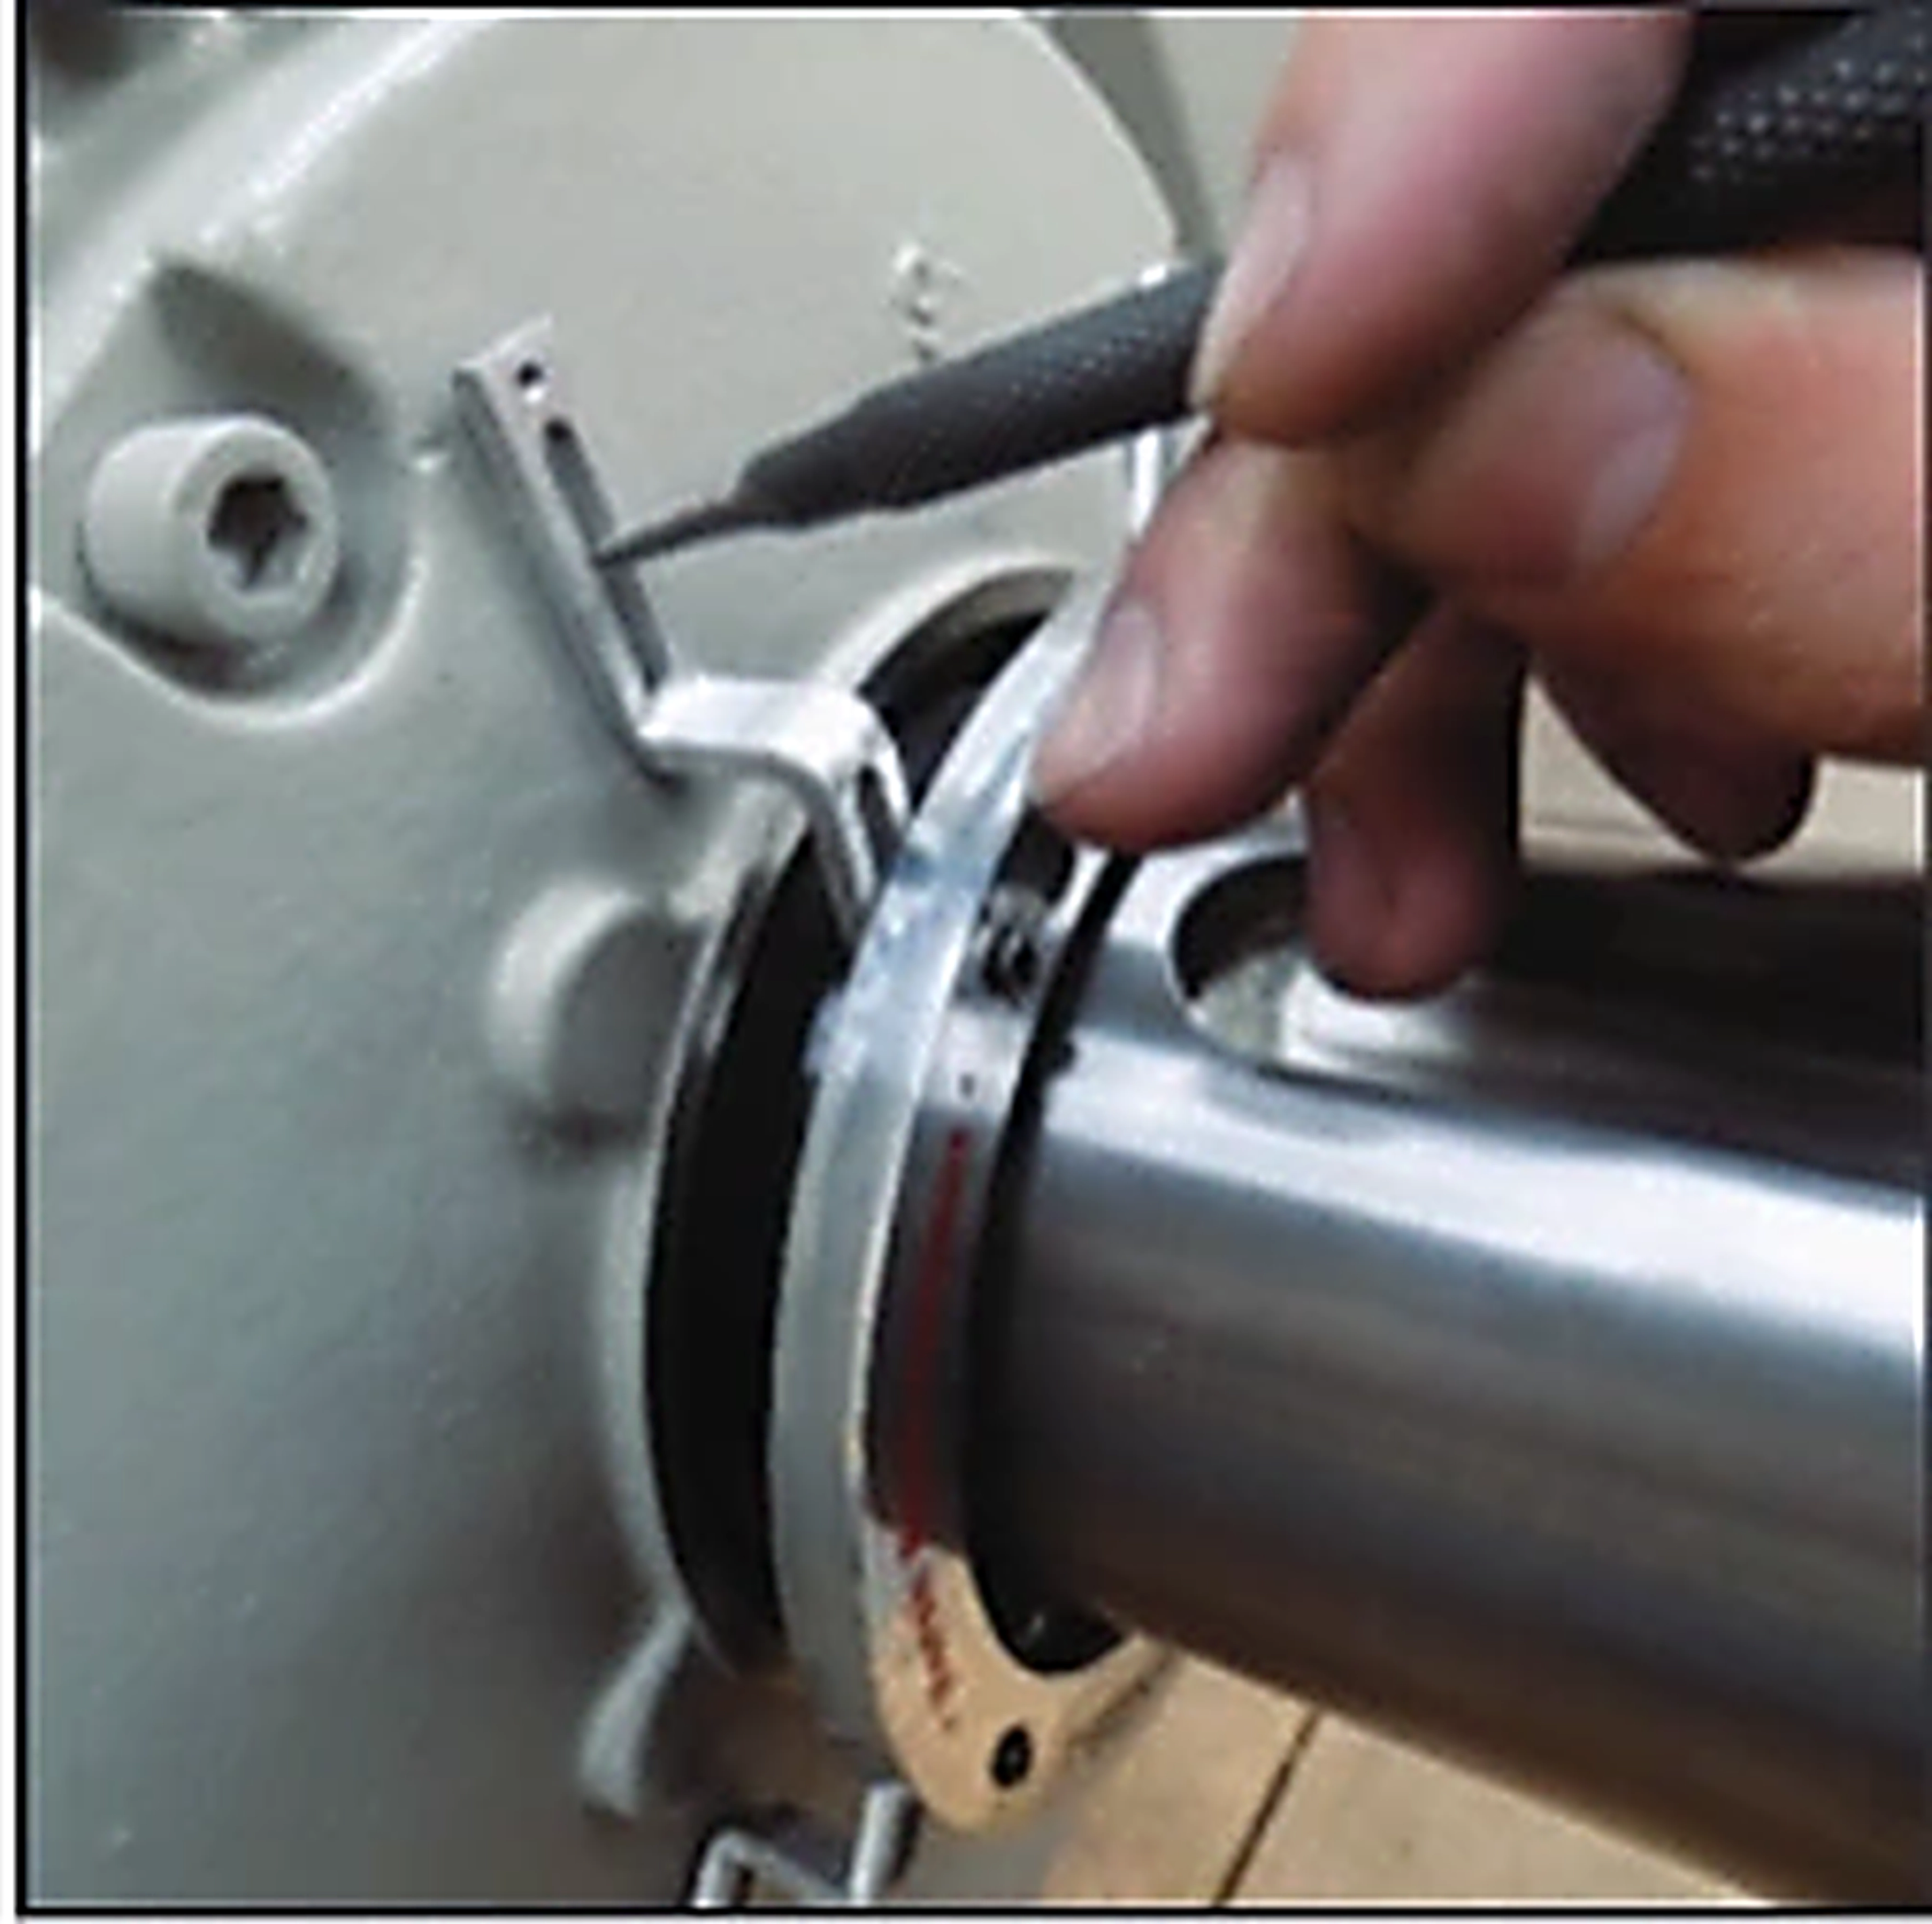
Position the Earthring correctly, then mark the centre of the slide-groove with a pin punch. This mark identifies where the mounting hole must be drilled.
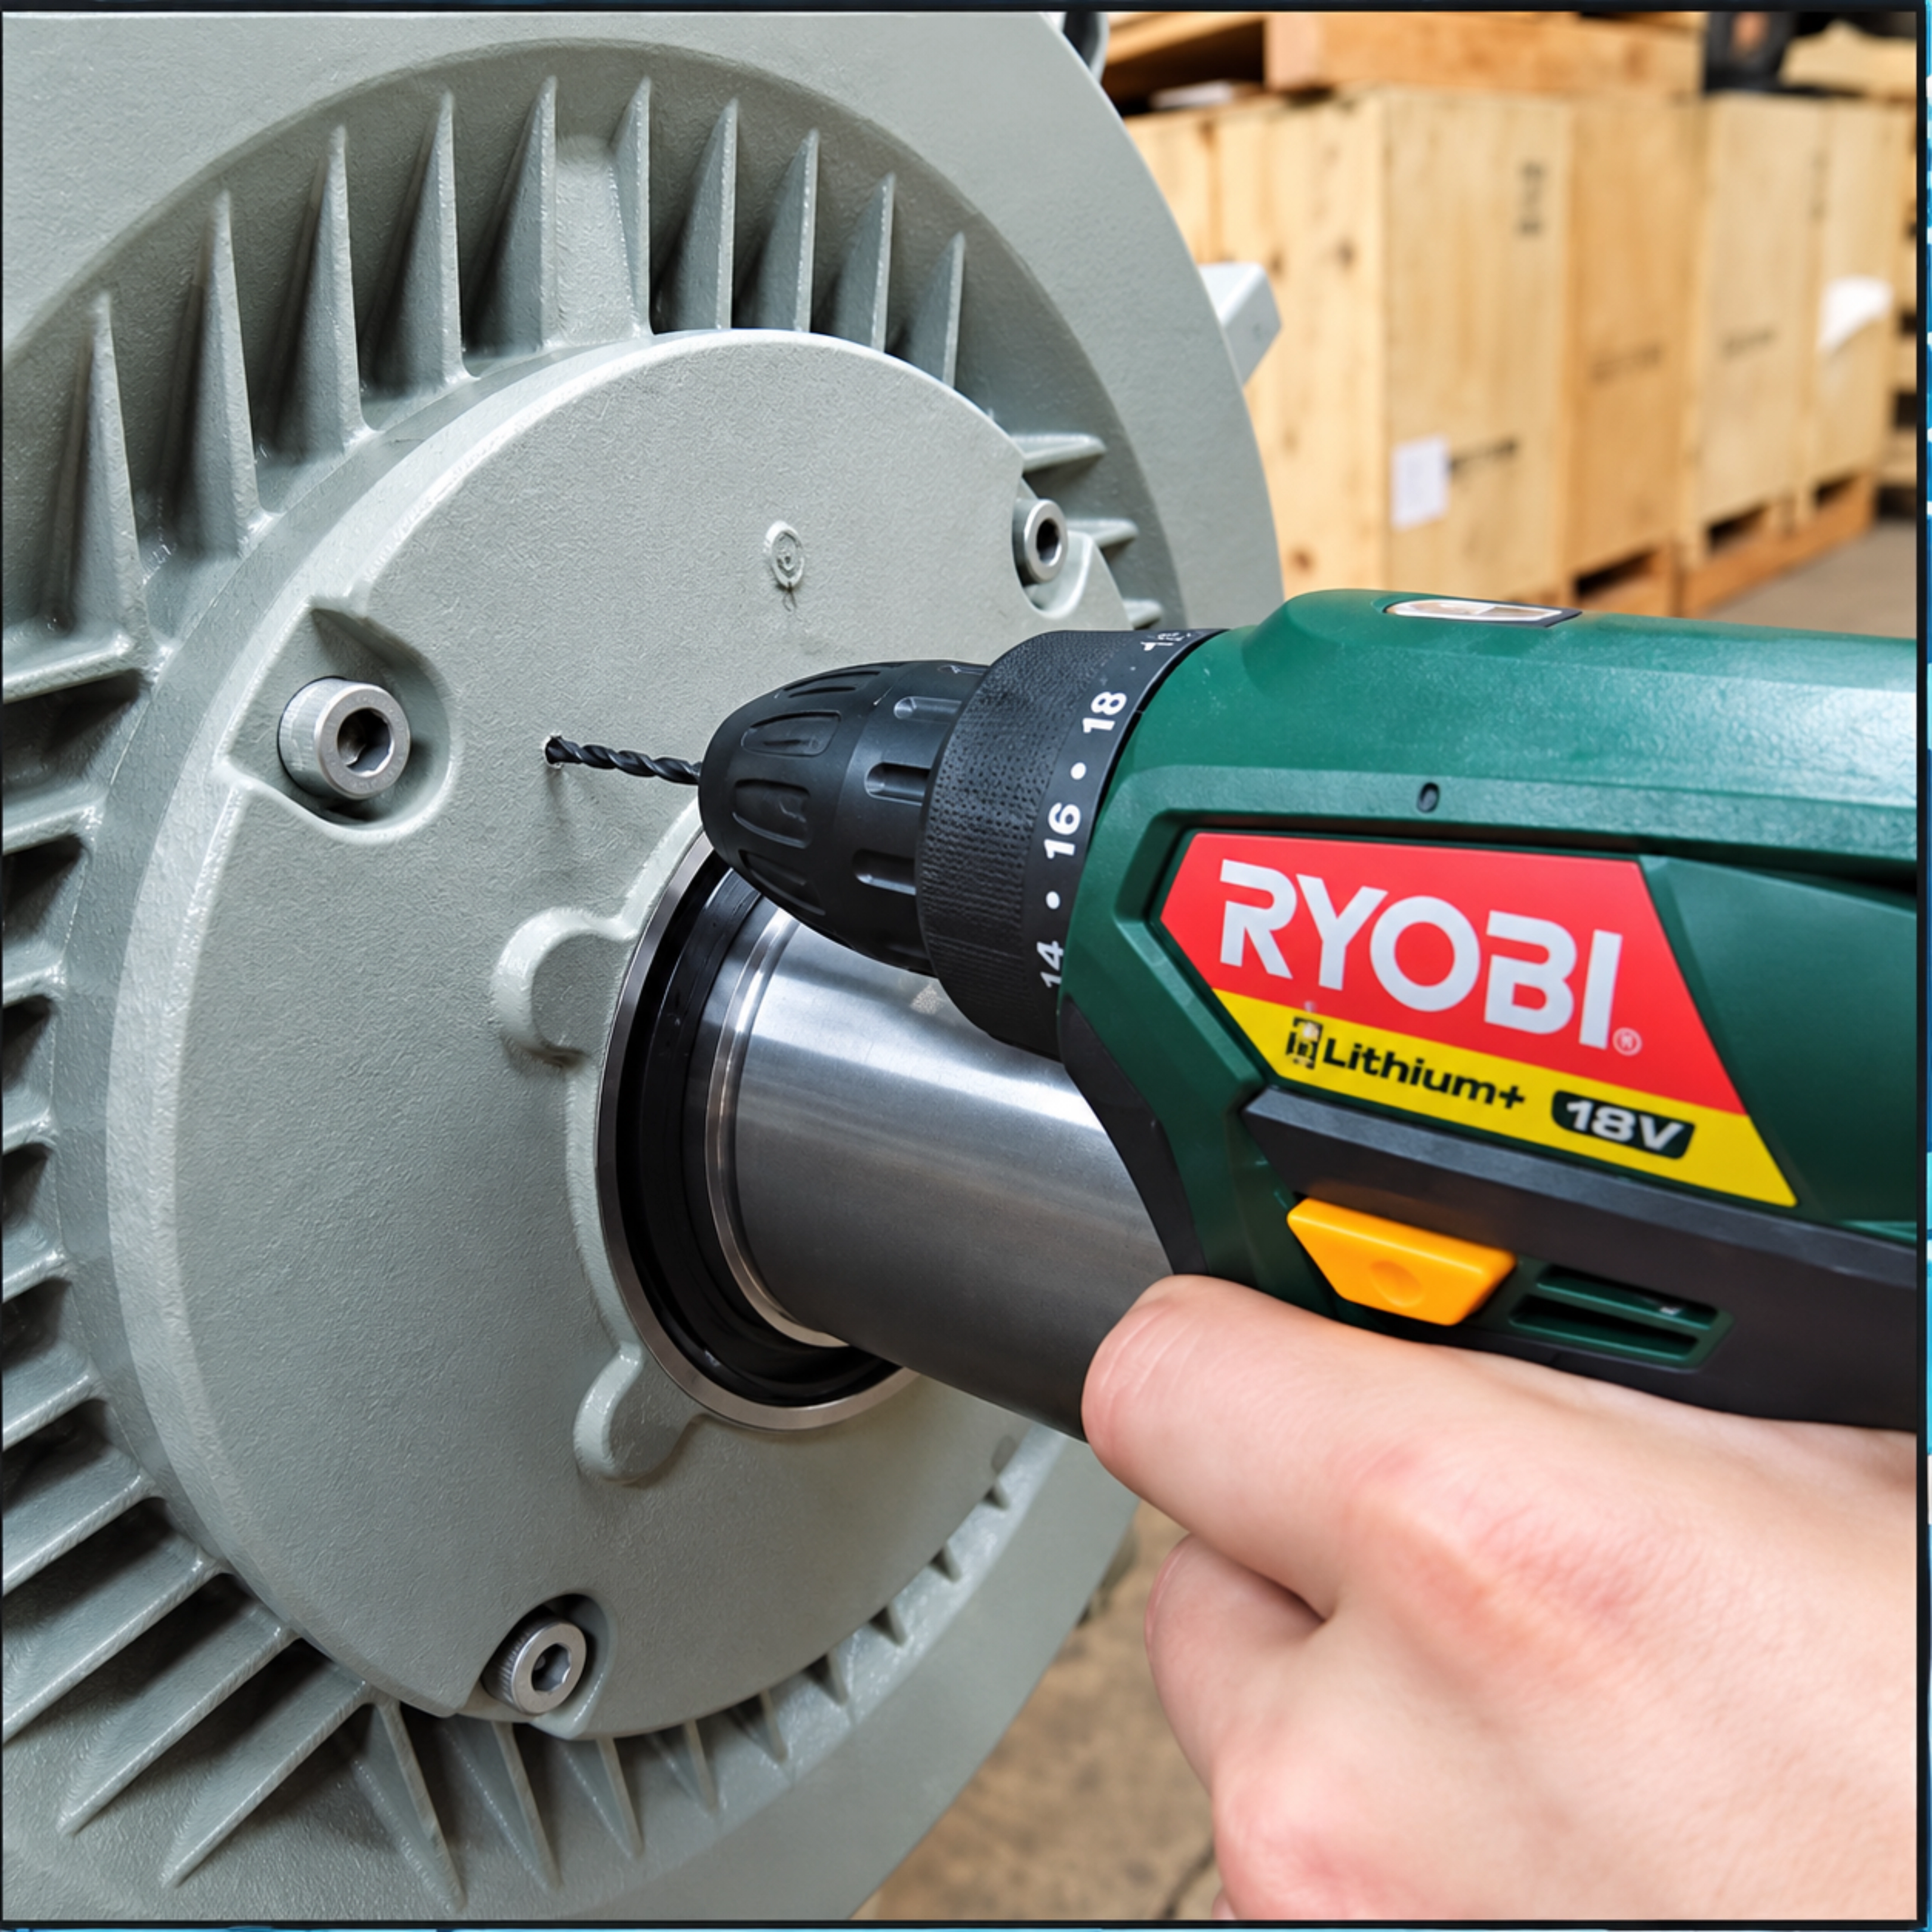
Drill the marked hole with a 2.5mm steel drill bit.
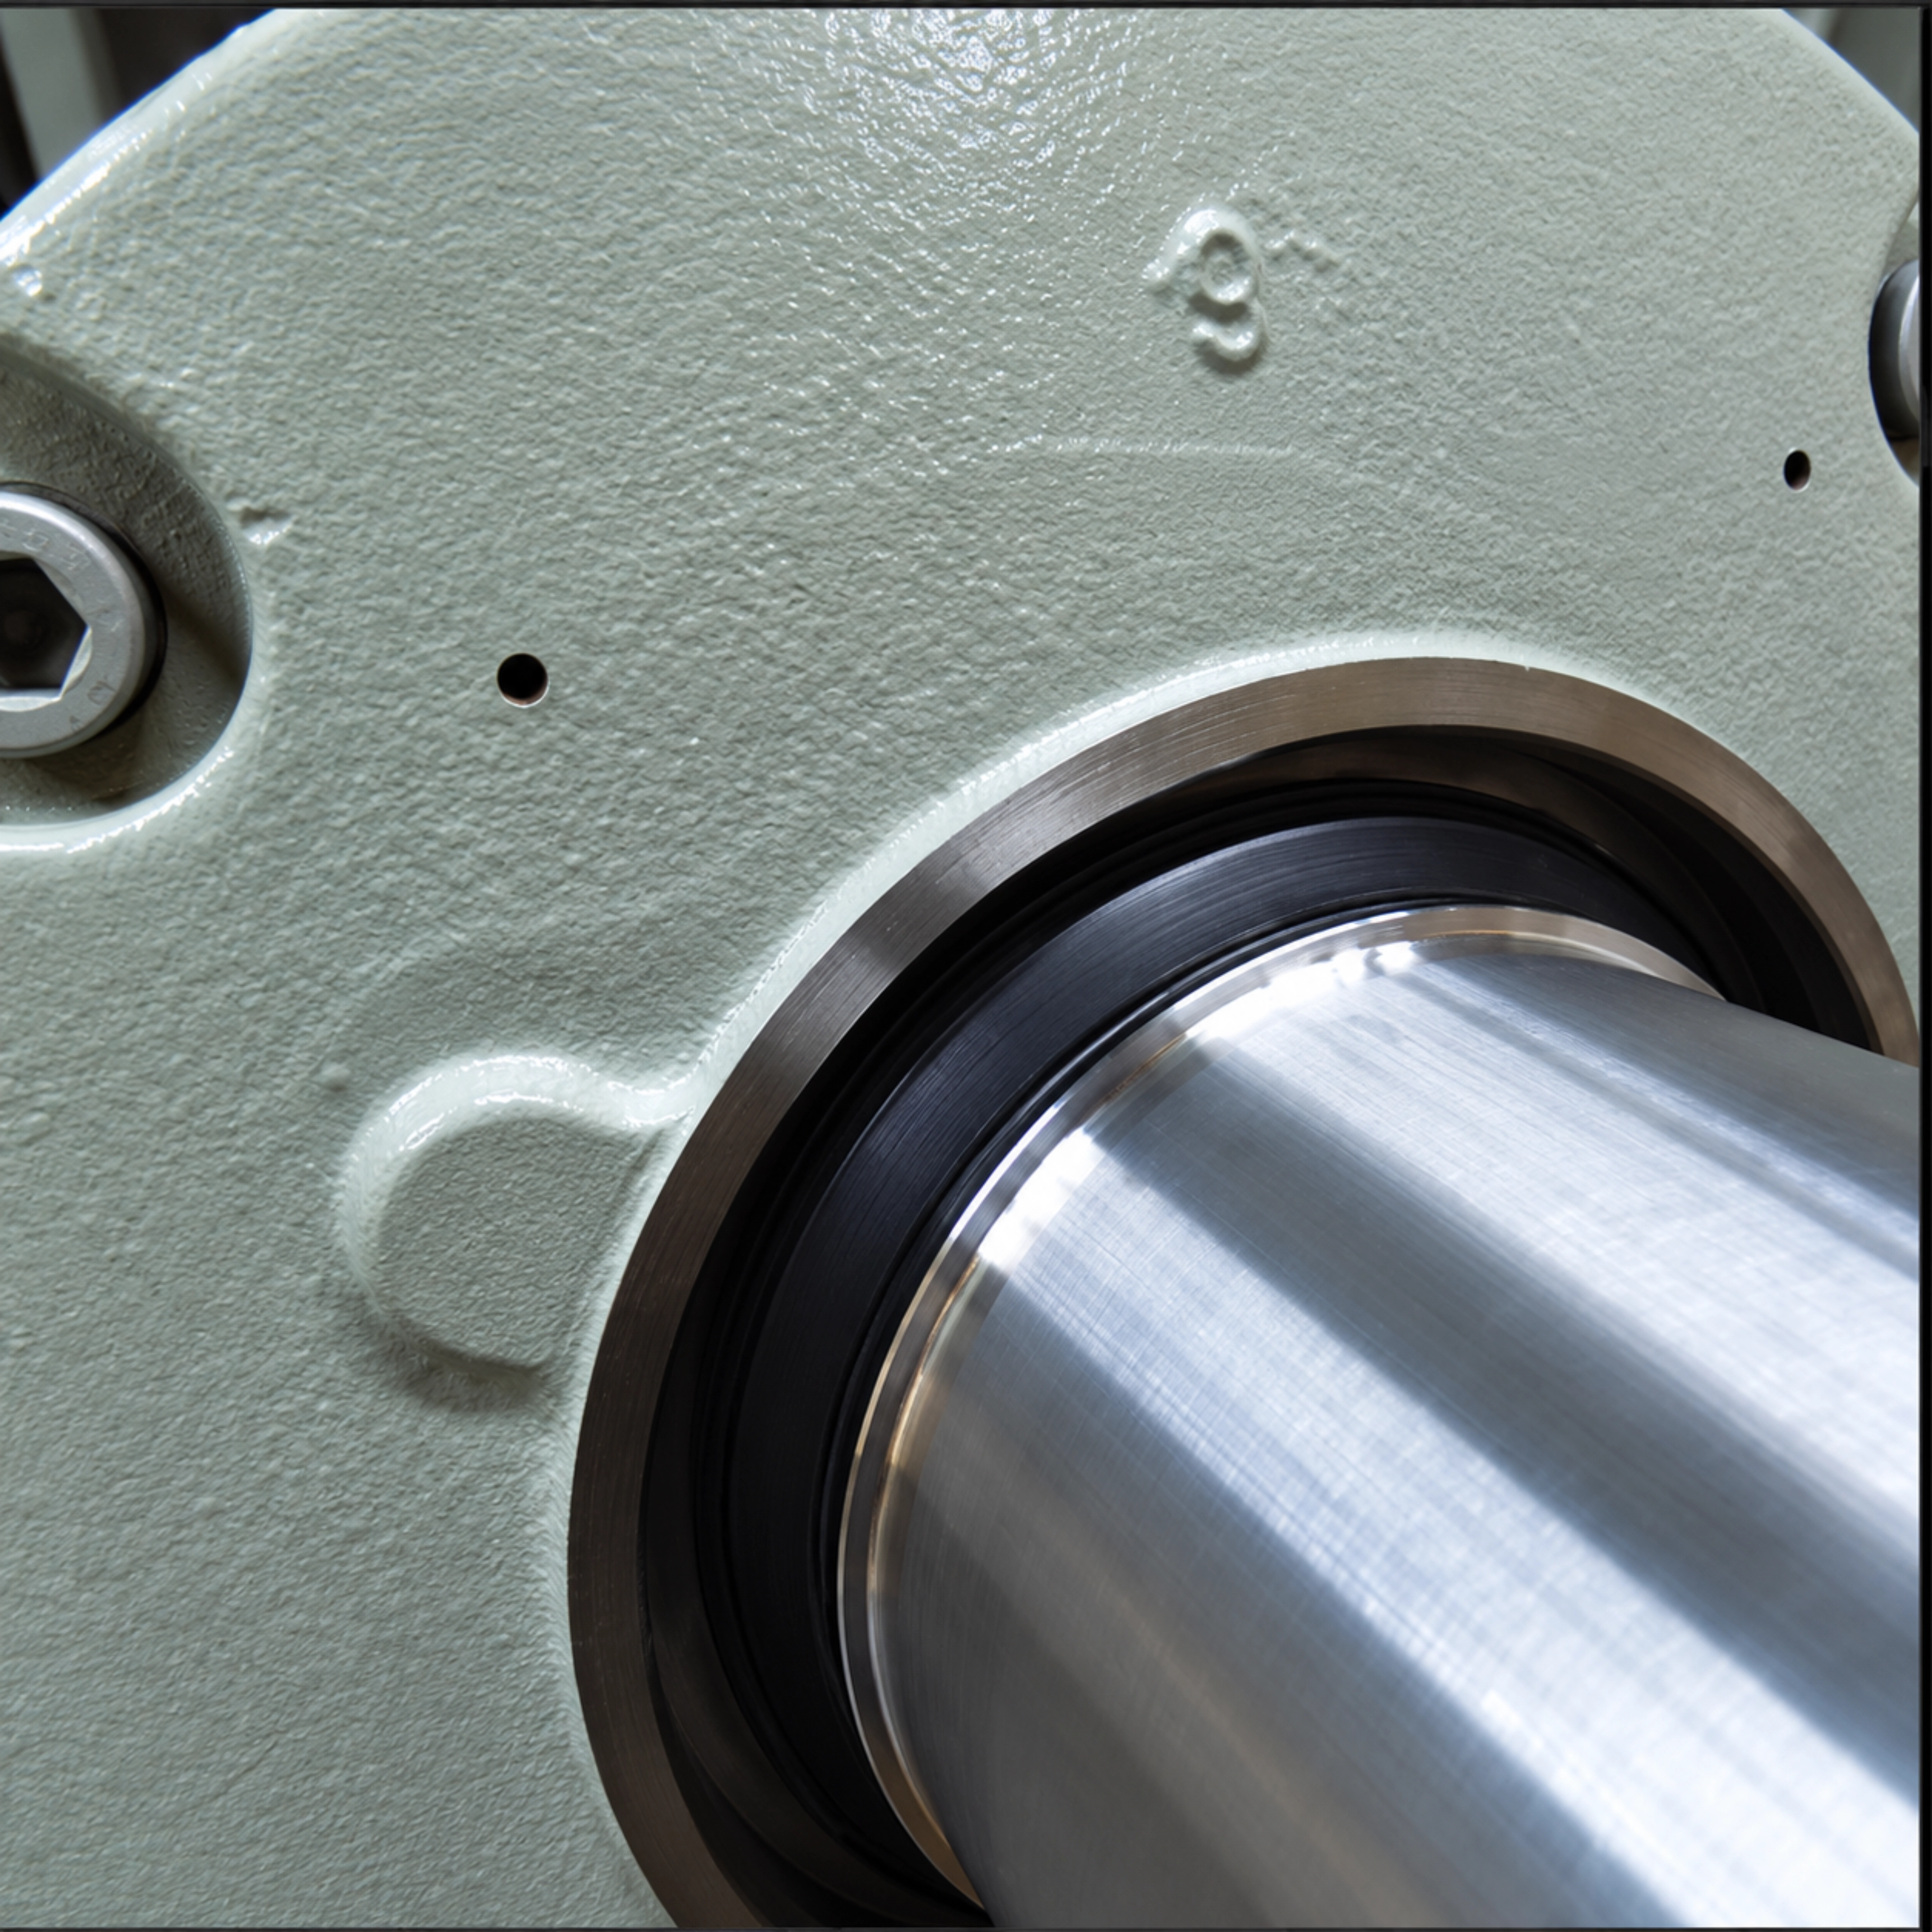
Check the depth with a vernier and make sure the hole has not been drilled completely through. If it has, remove the endshield or grease cover and follow the cleaning and re-greasing procedure in the full guide.
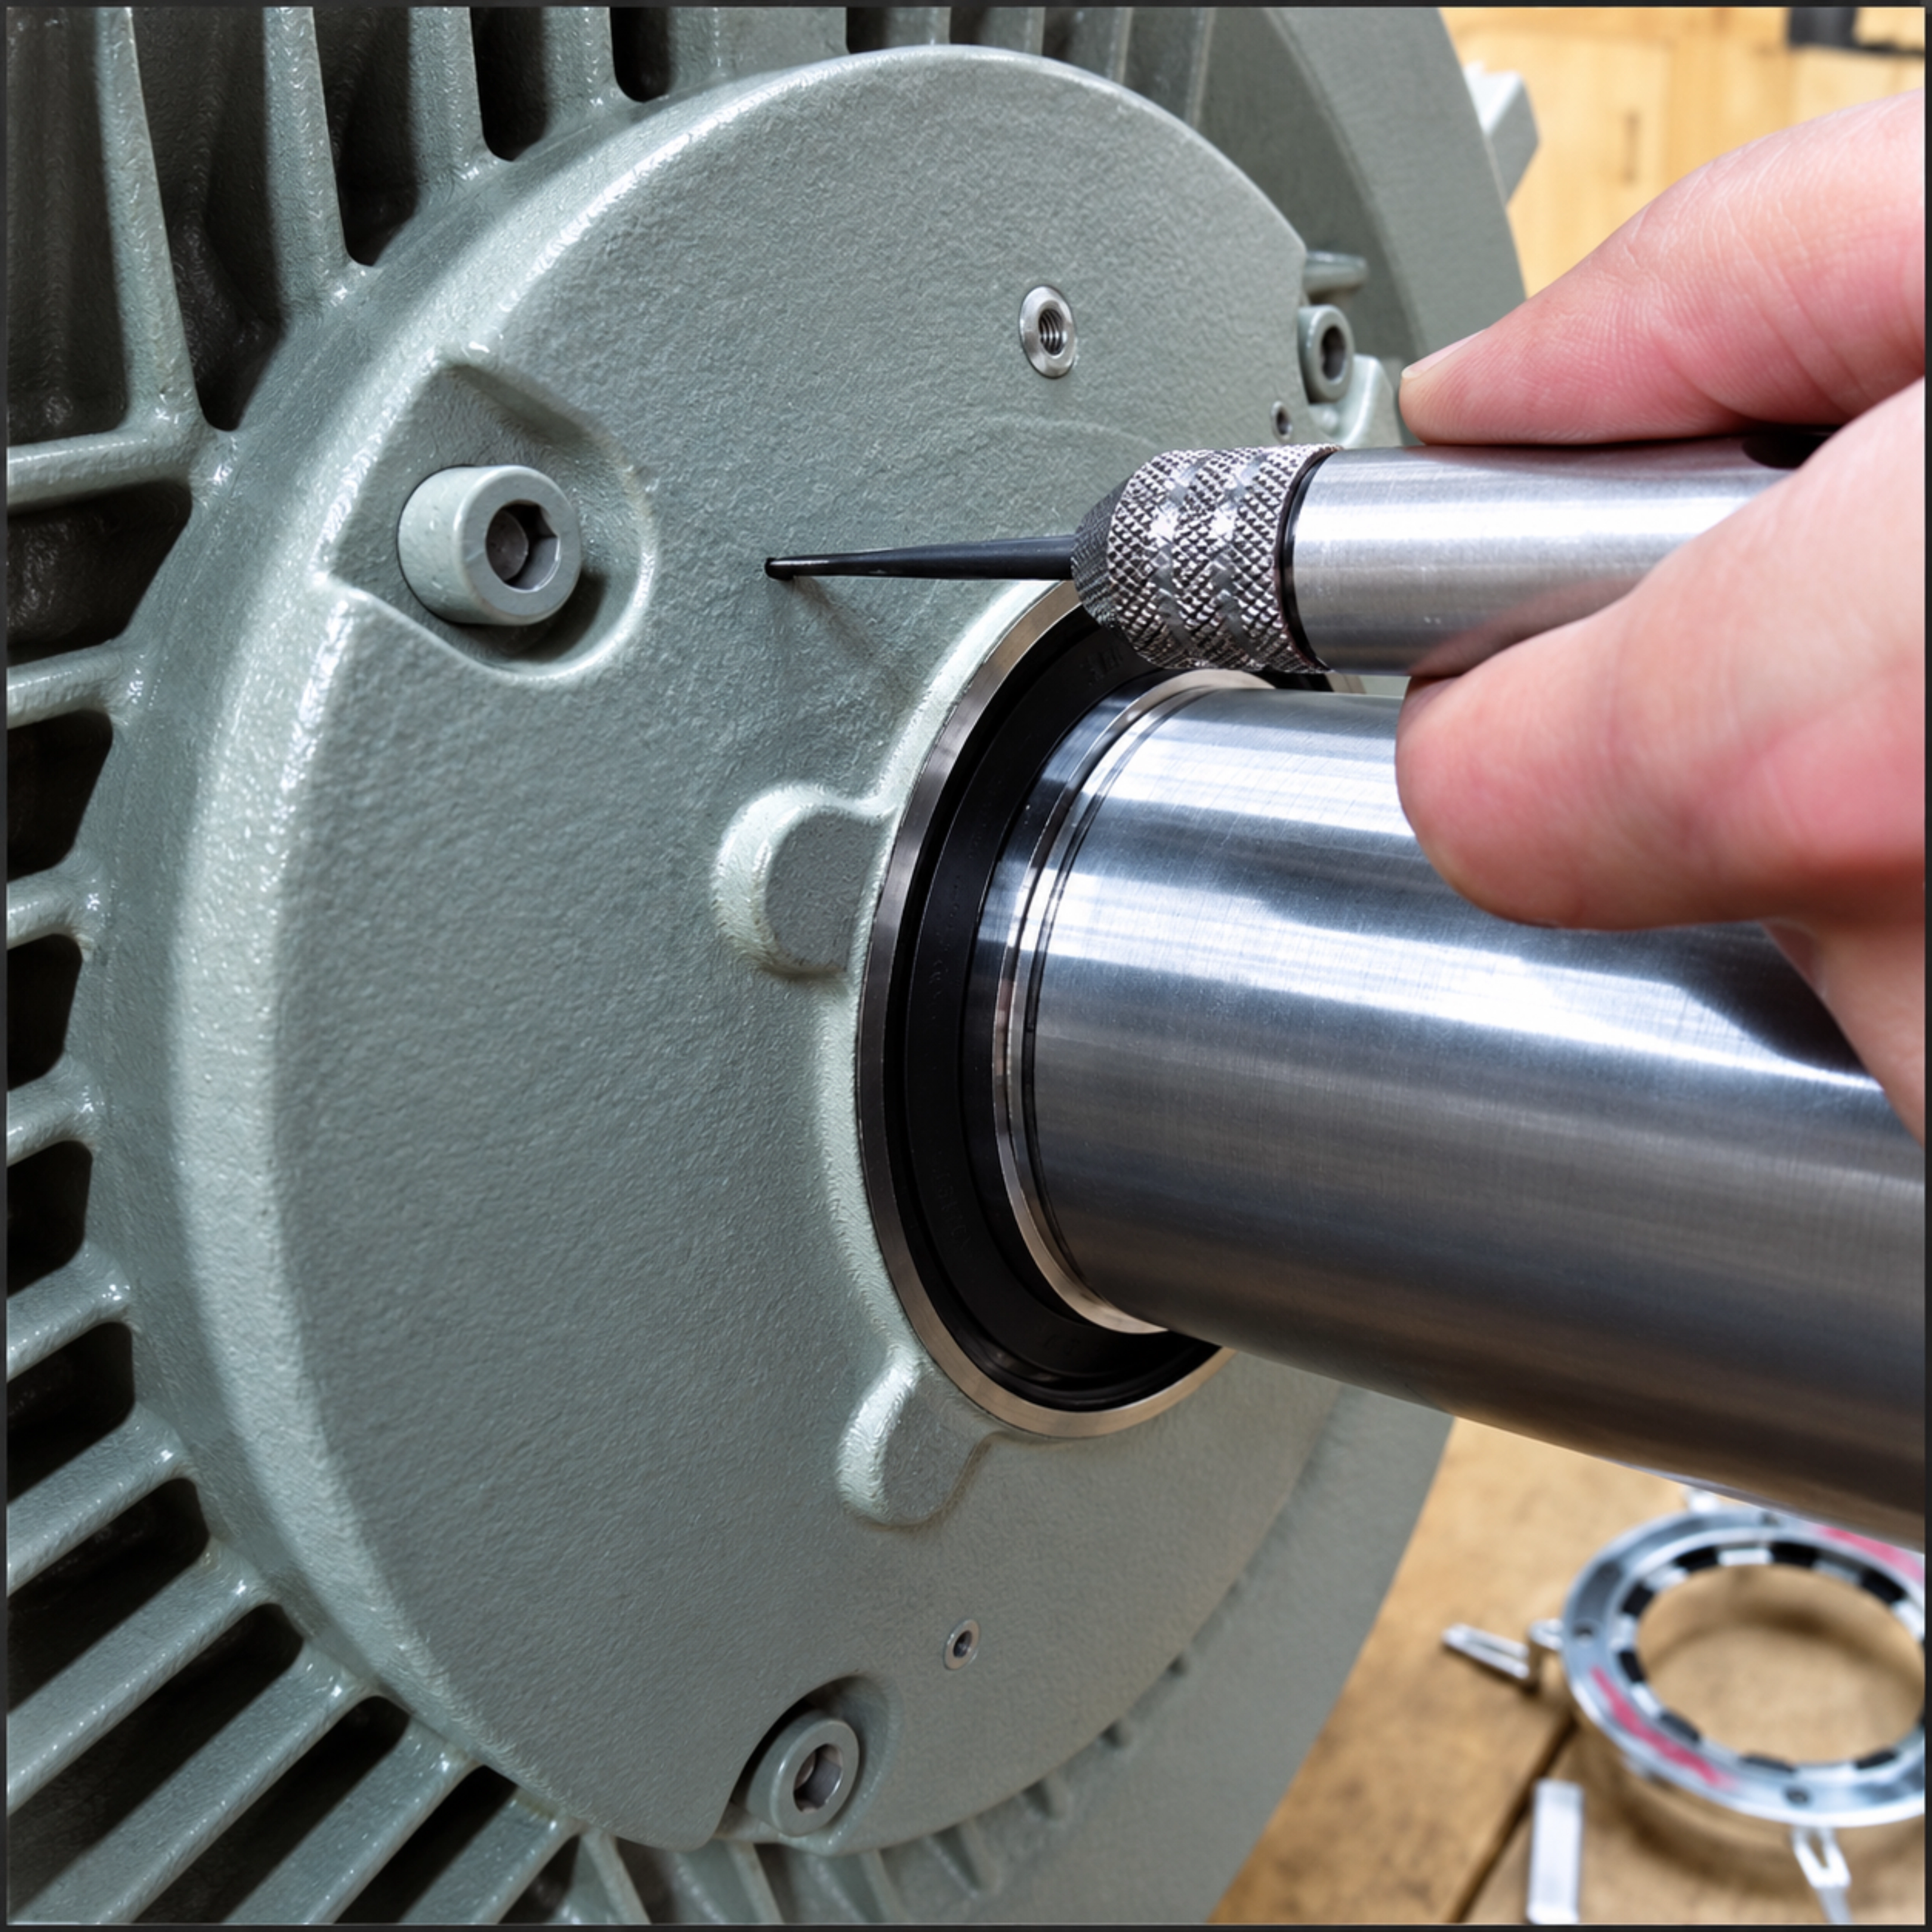
Tap the grease cover or endshield hole with a 3mm tap with a 0.5mm pitch. Use tapping fluid if required.
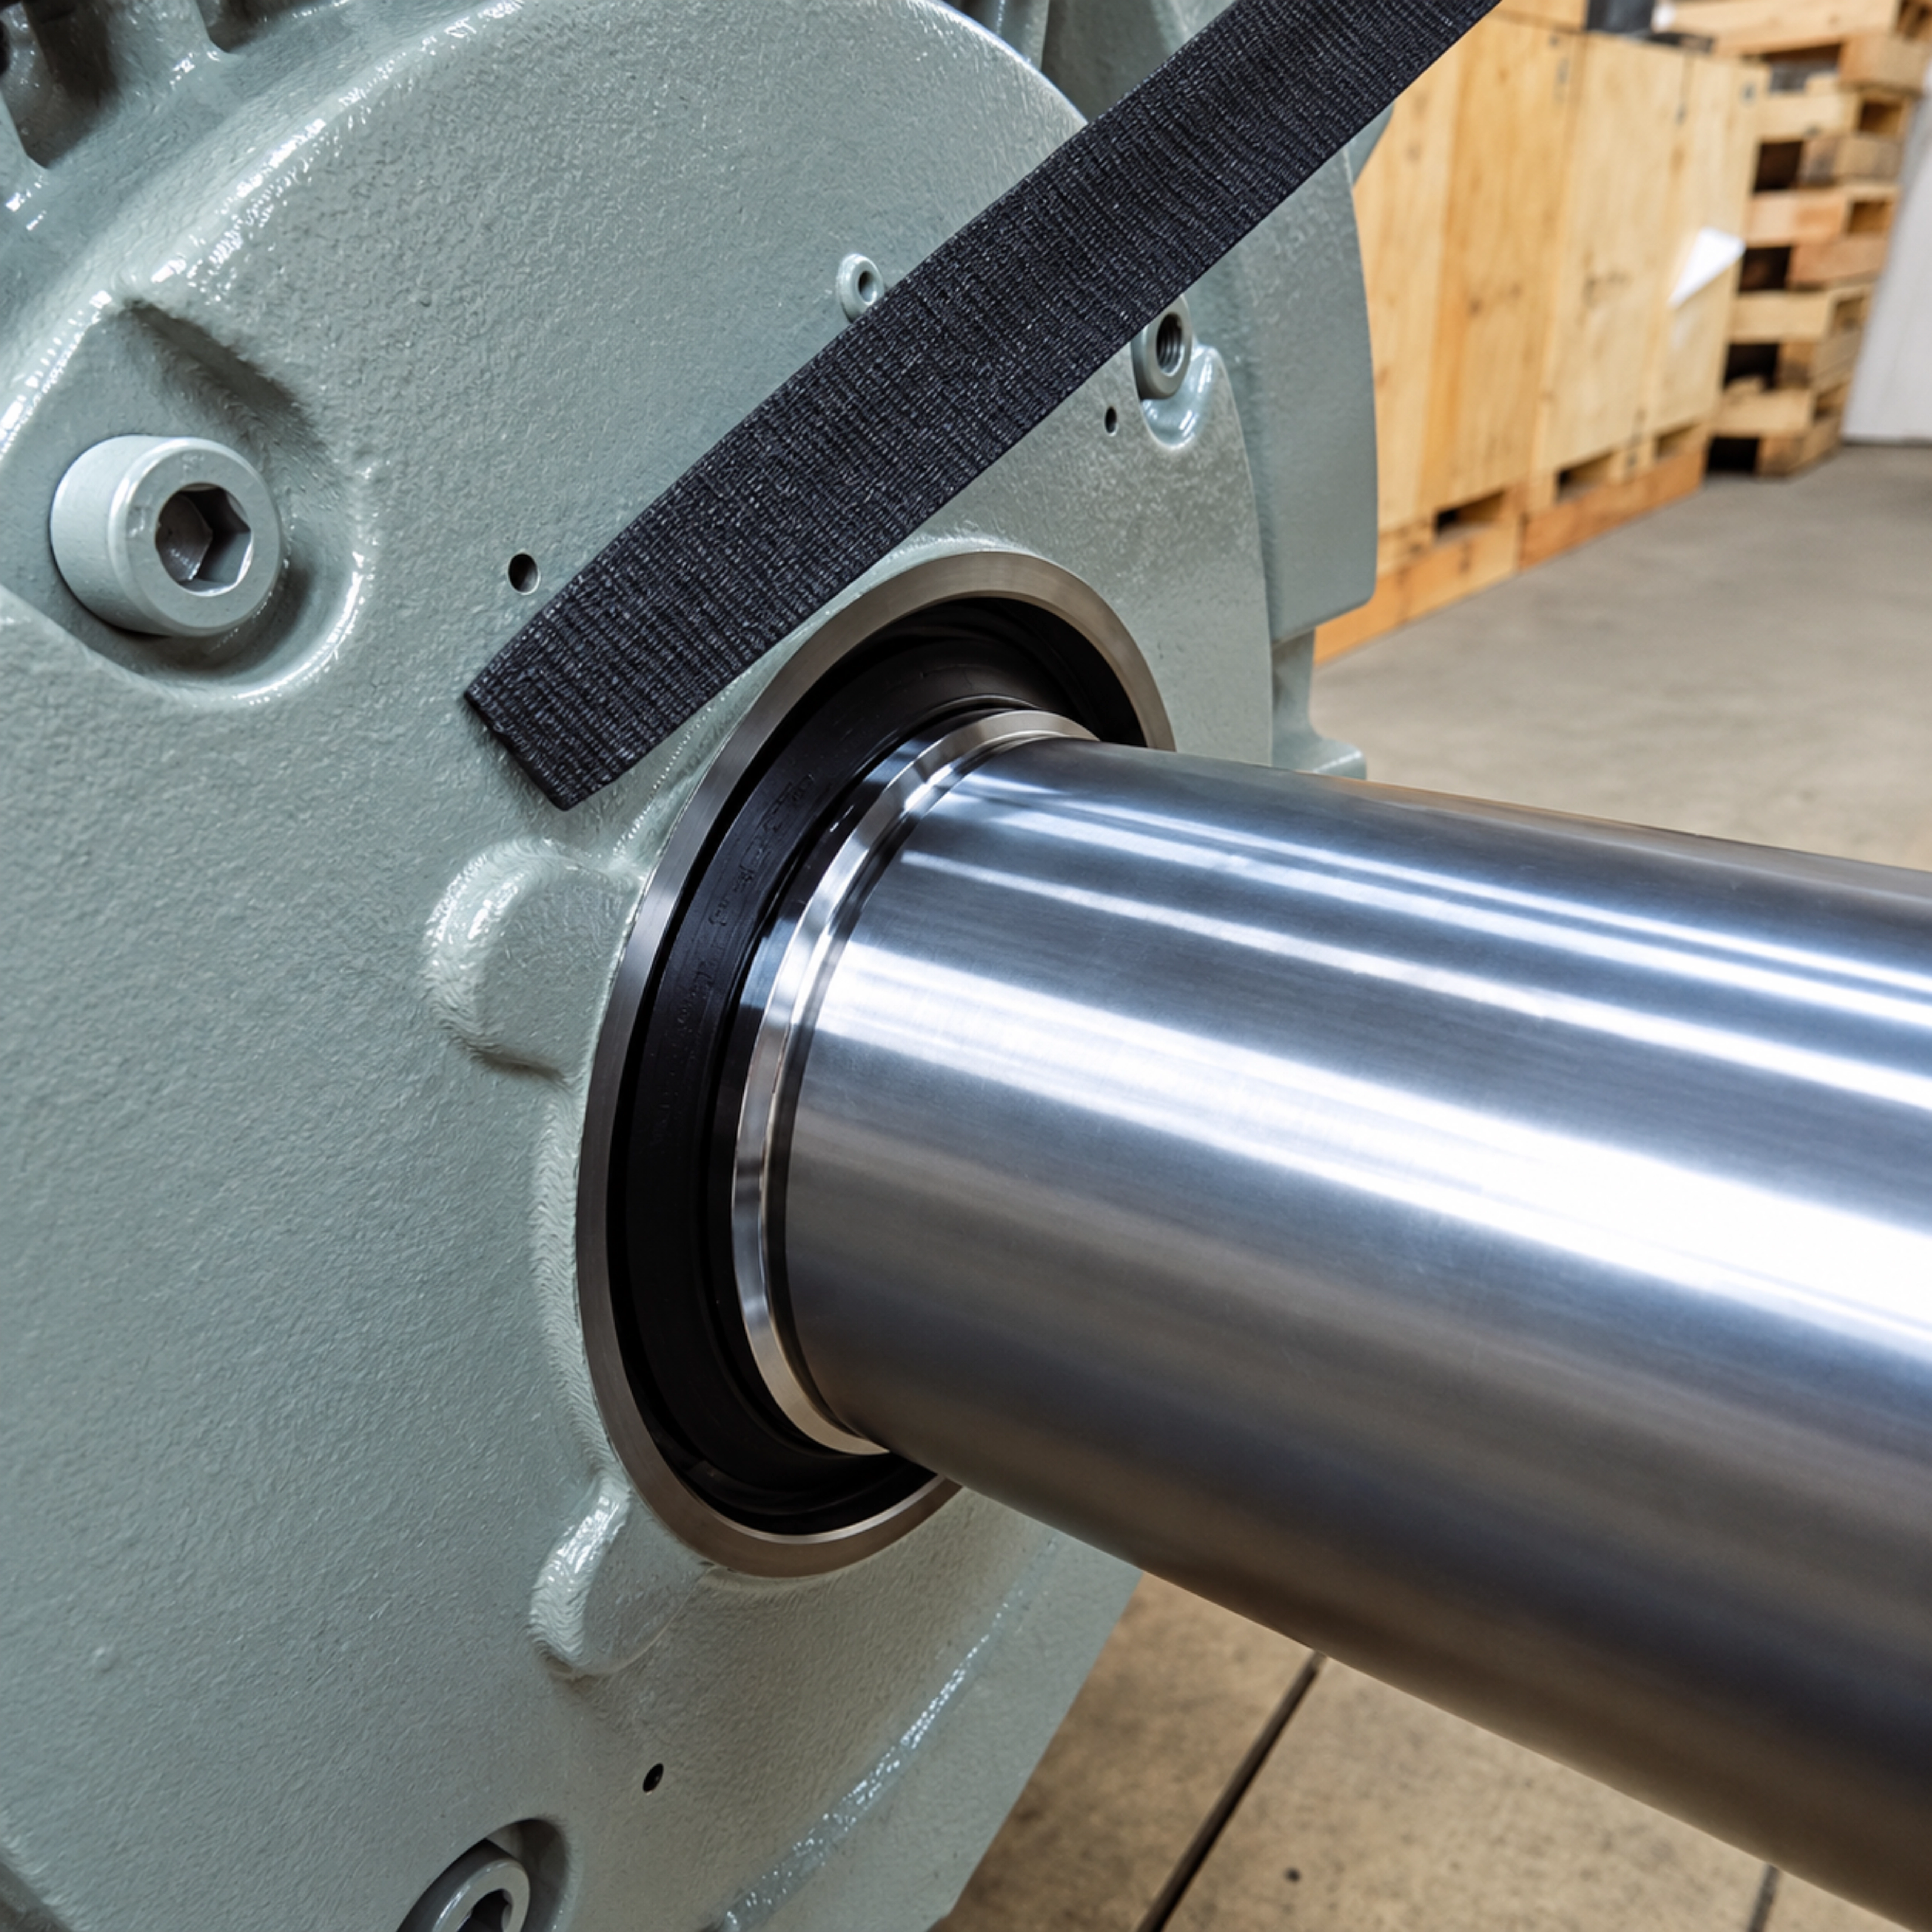
If the tap breaks, file it down until it is flush with the grease cover, then drill a new hole 3–4mm above or below the old hole. The bracket slide-groove allows for this adjustment.
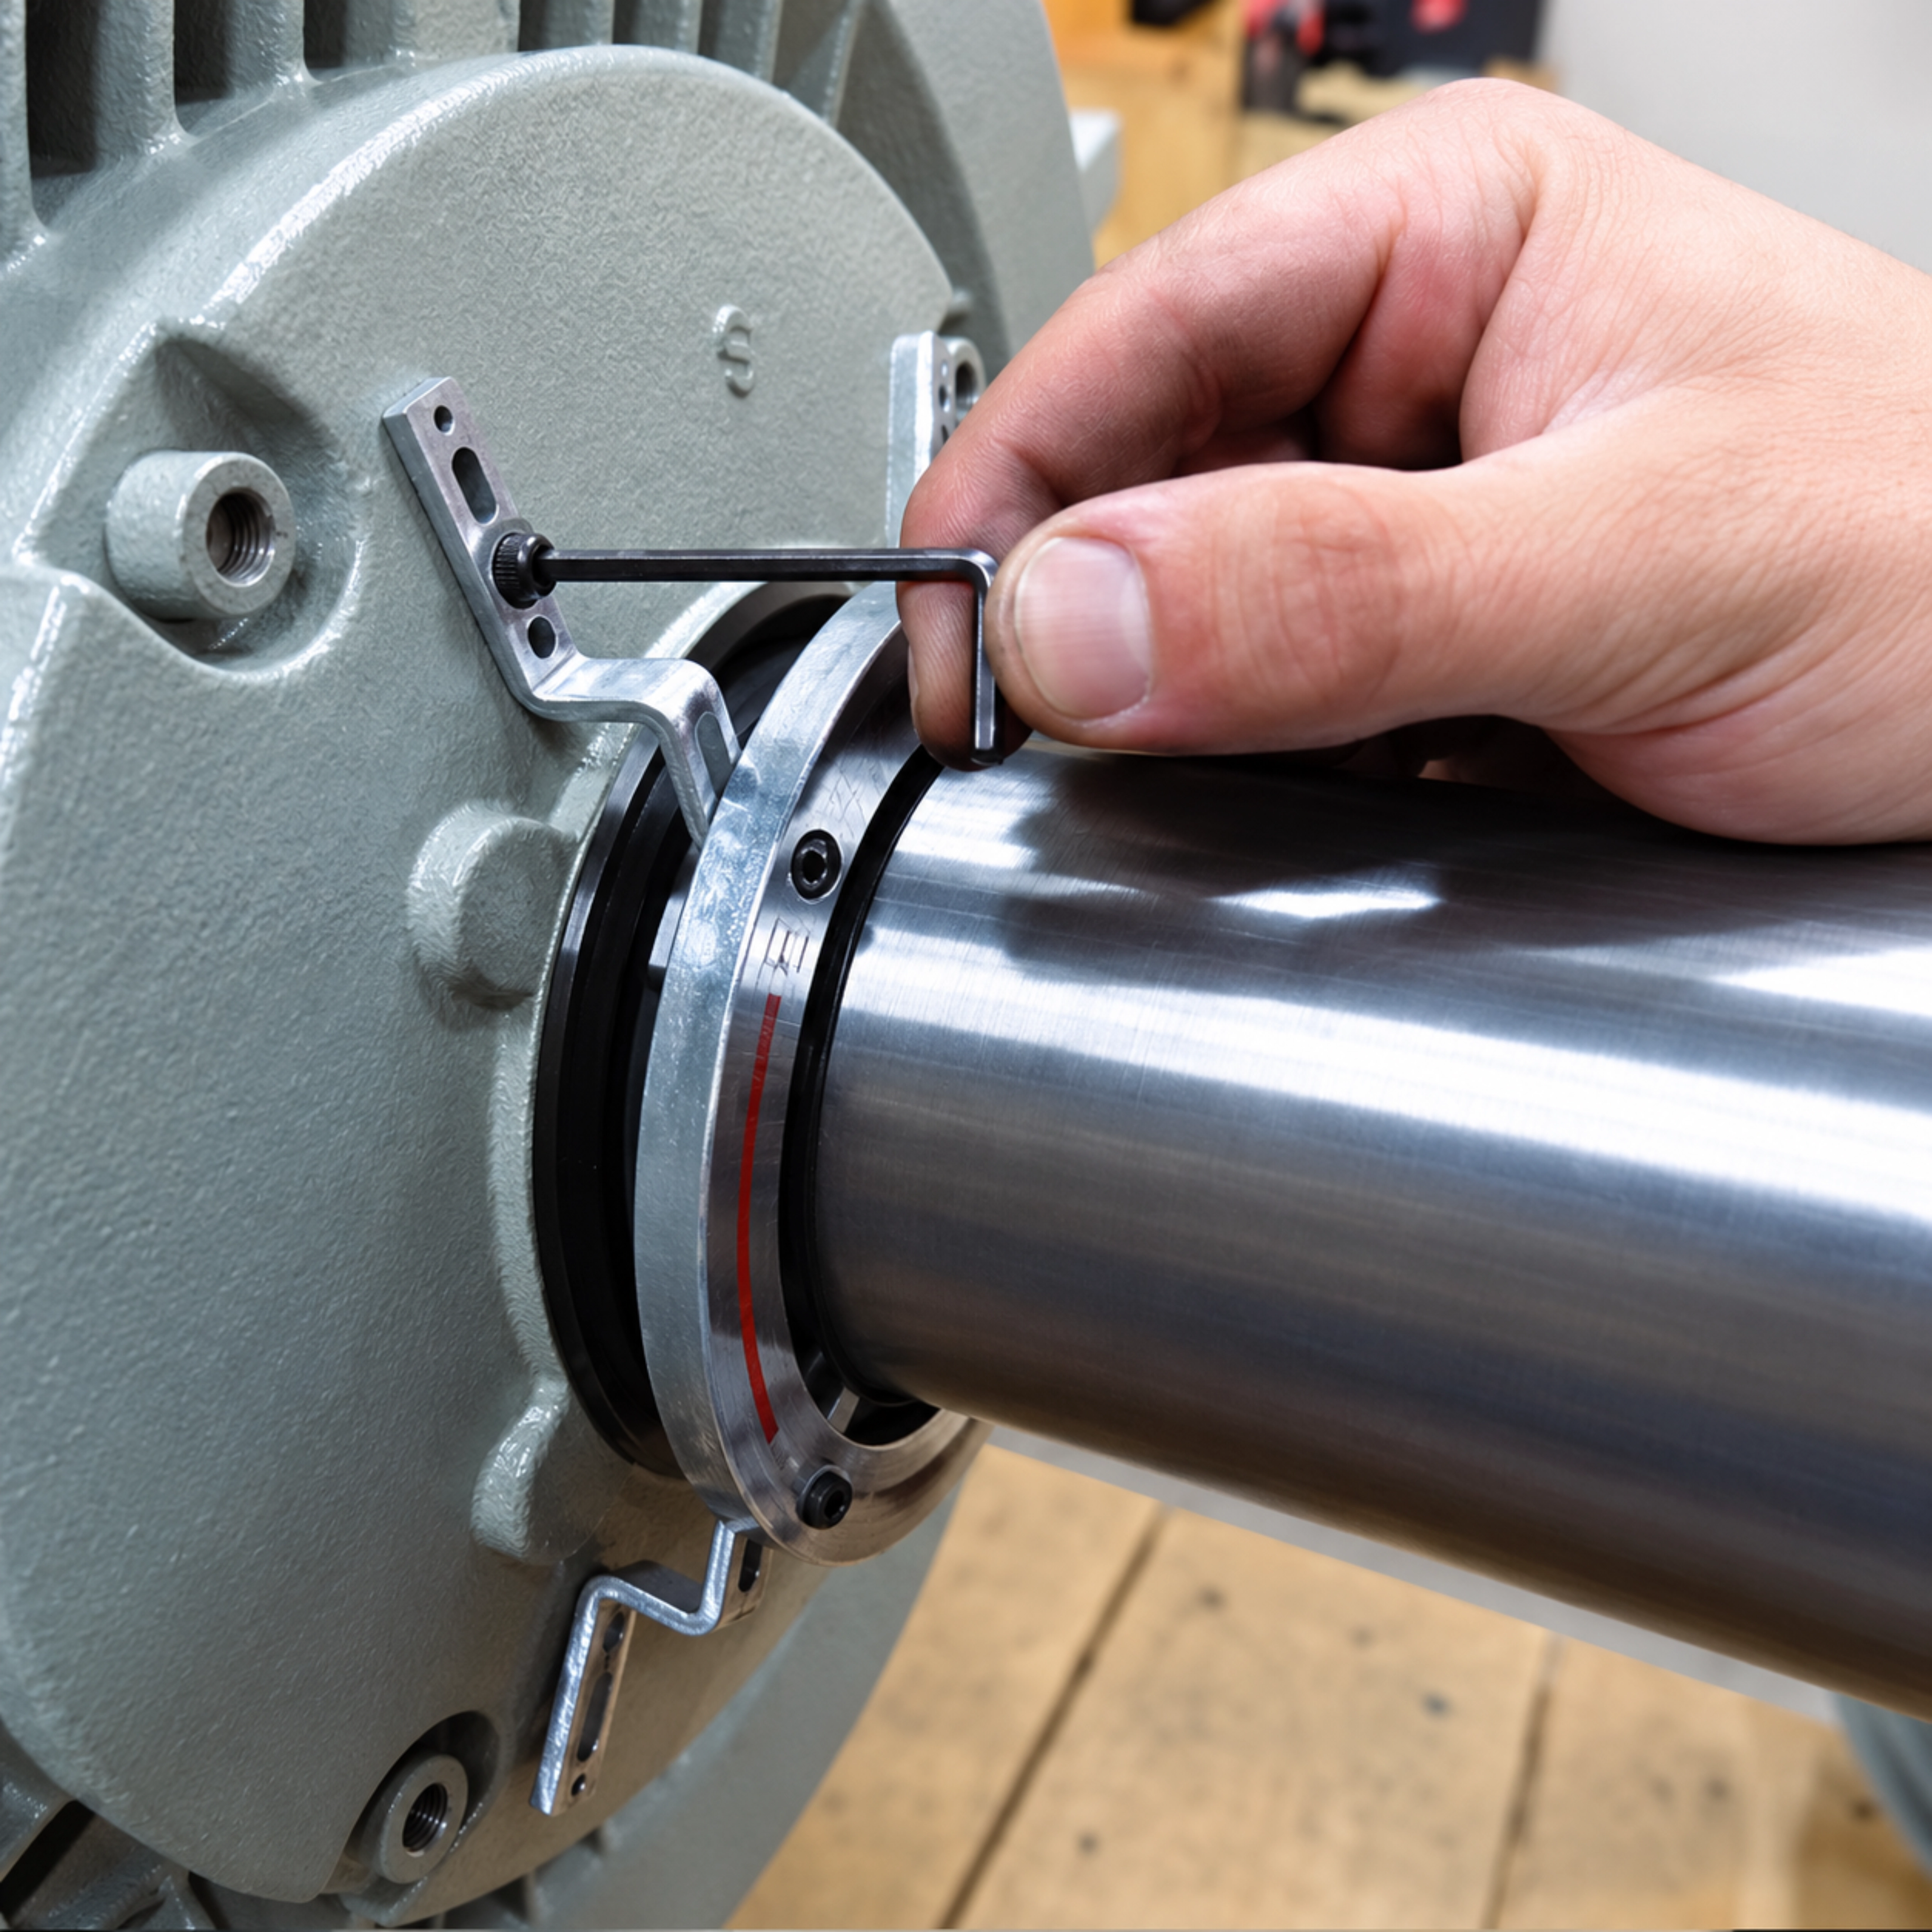
Fasten the Earthring to the grease cover or endshield with 3mm cap screws and 1.5mm washers. Leave the screws firm but slightly loose so the Earthring can still be positioned evenly.
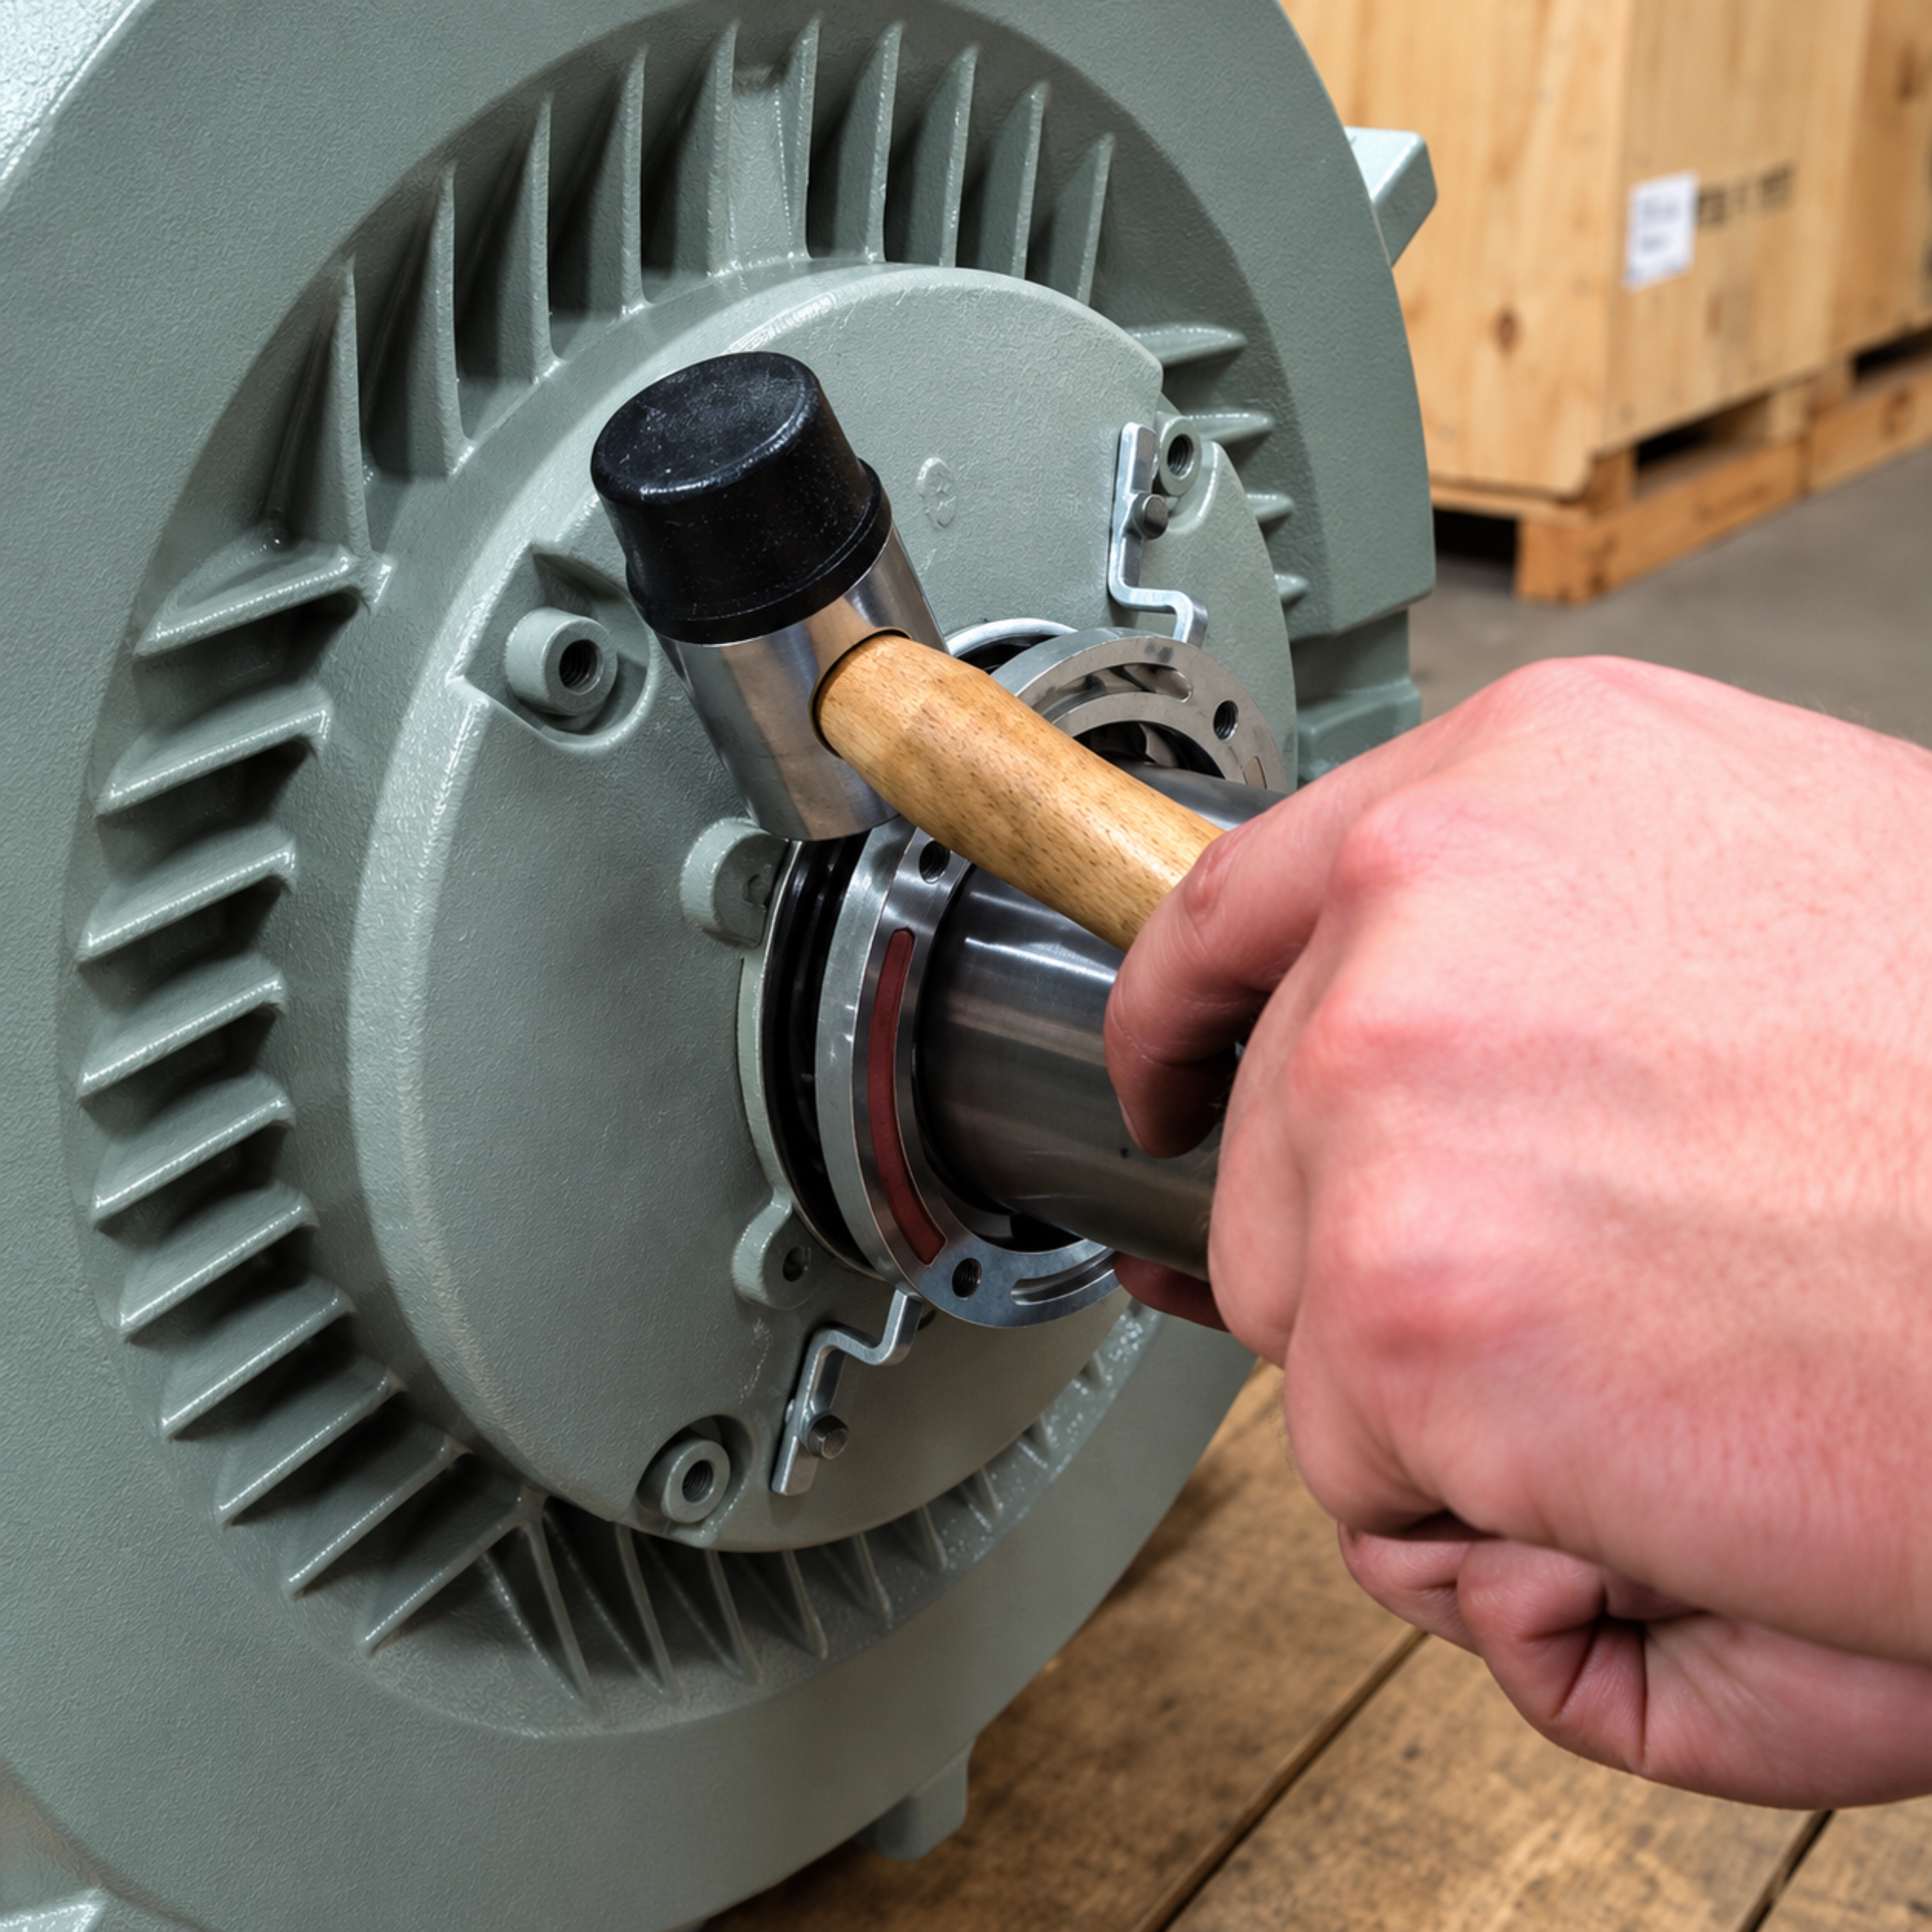
Move or lightly tap the Earthring until it is evenly positioned around the shaft with 1mm clearance. Use a 0.9mm or 0.8mm feeler gauge to verify an even gap all around.
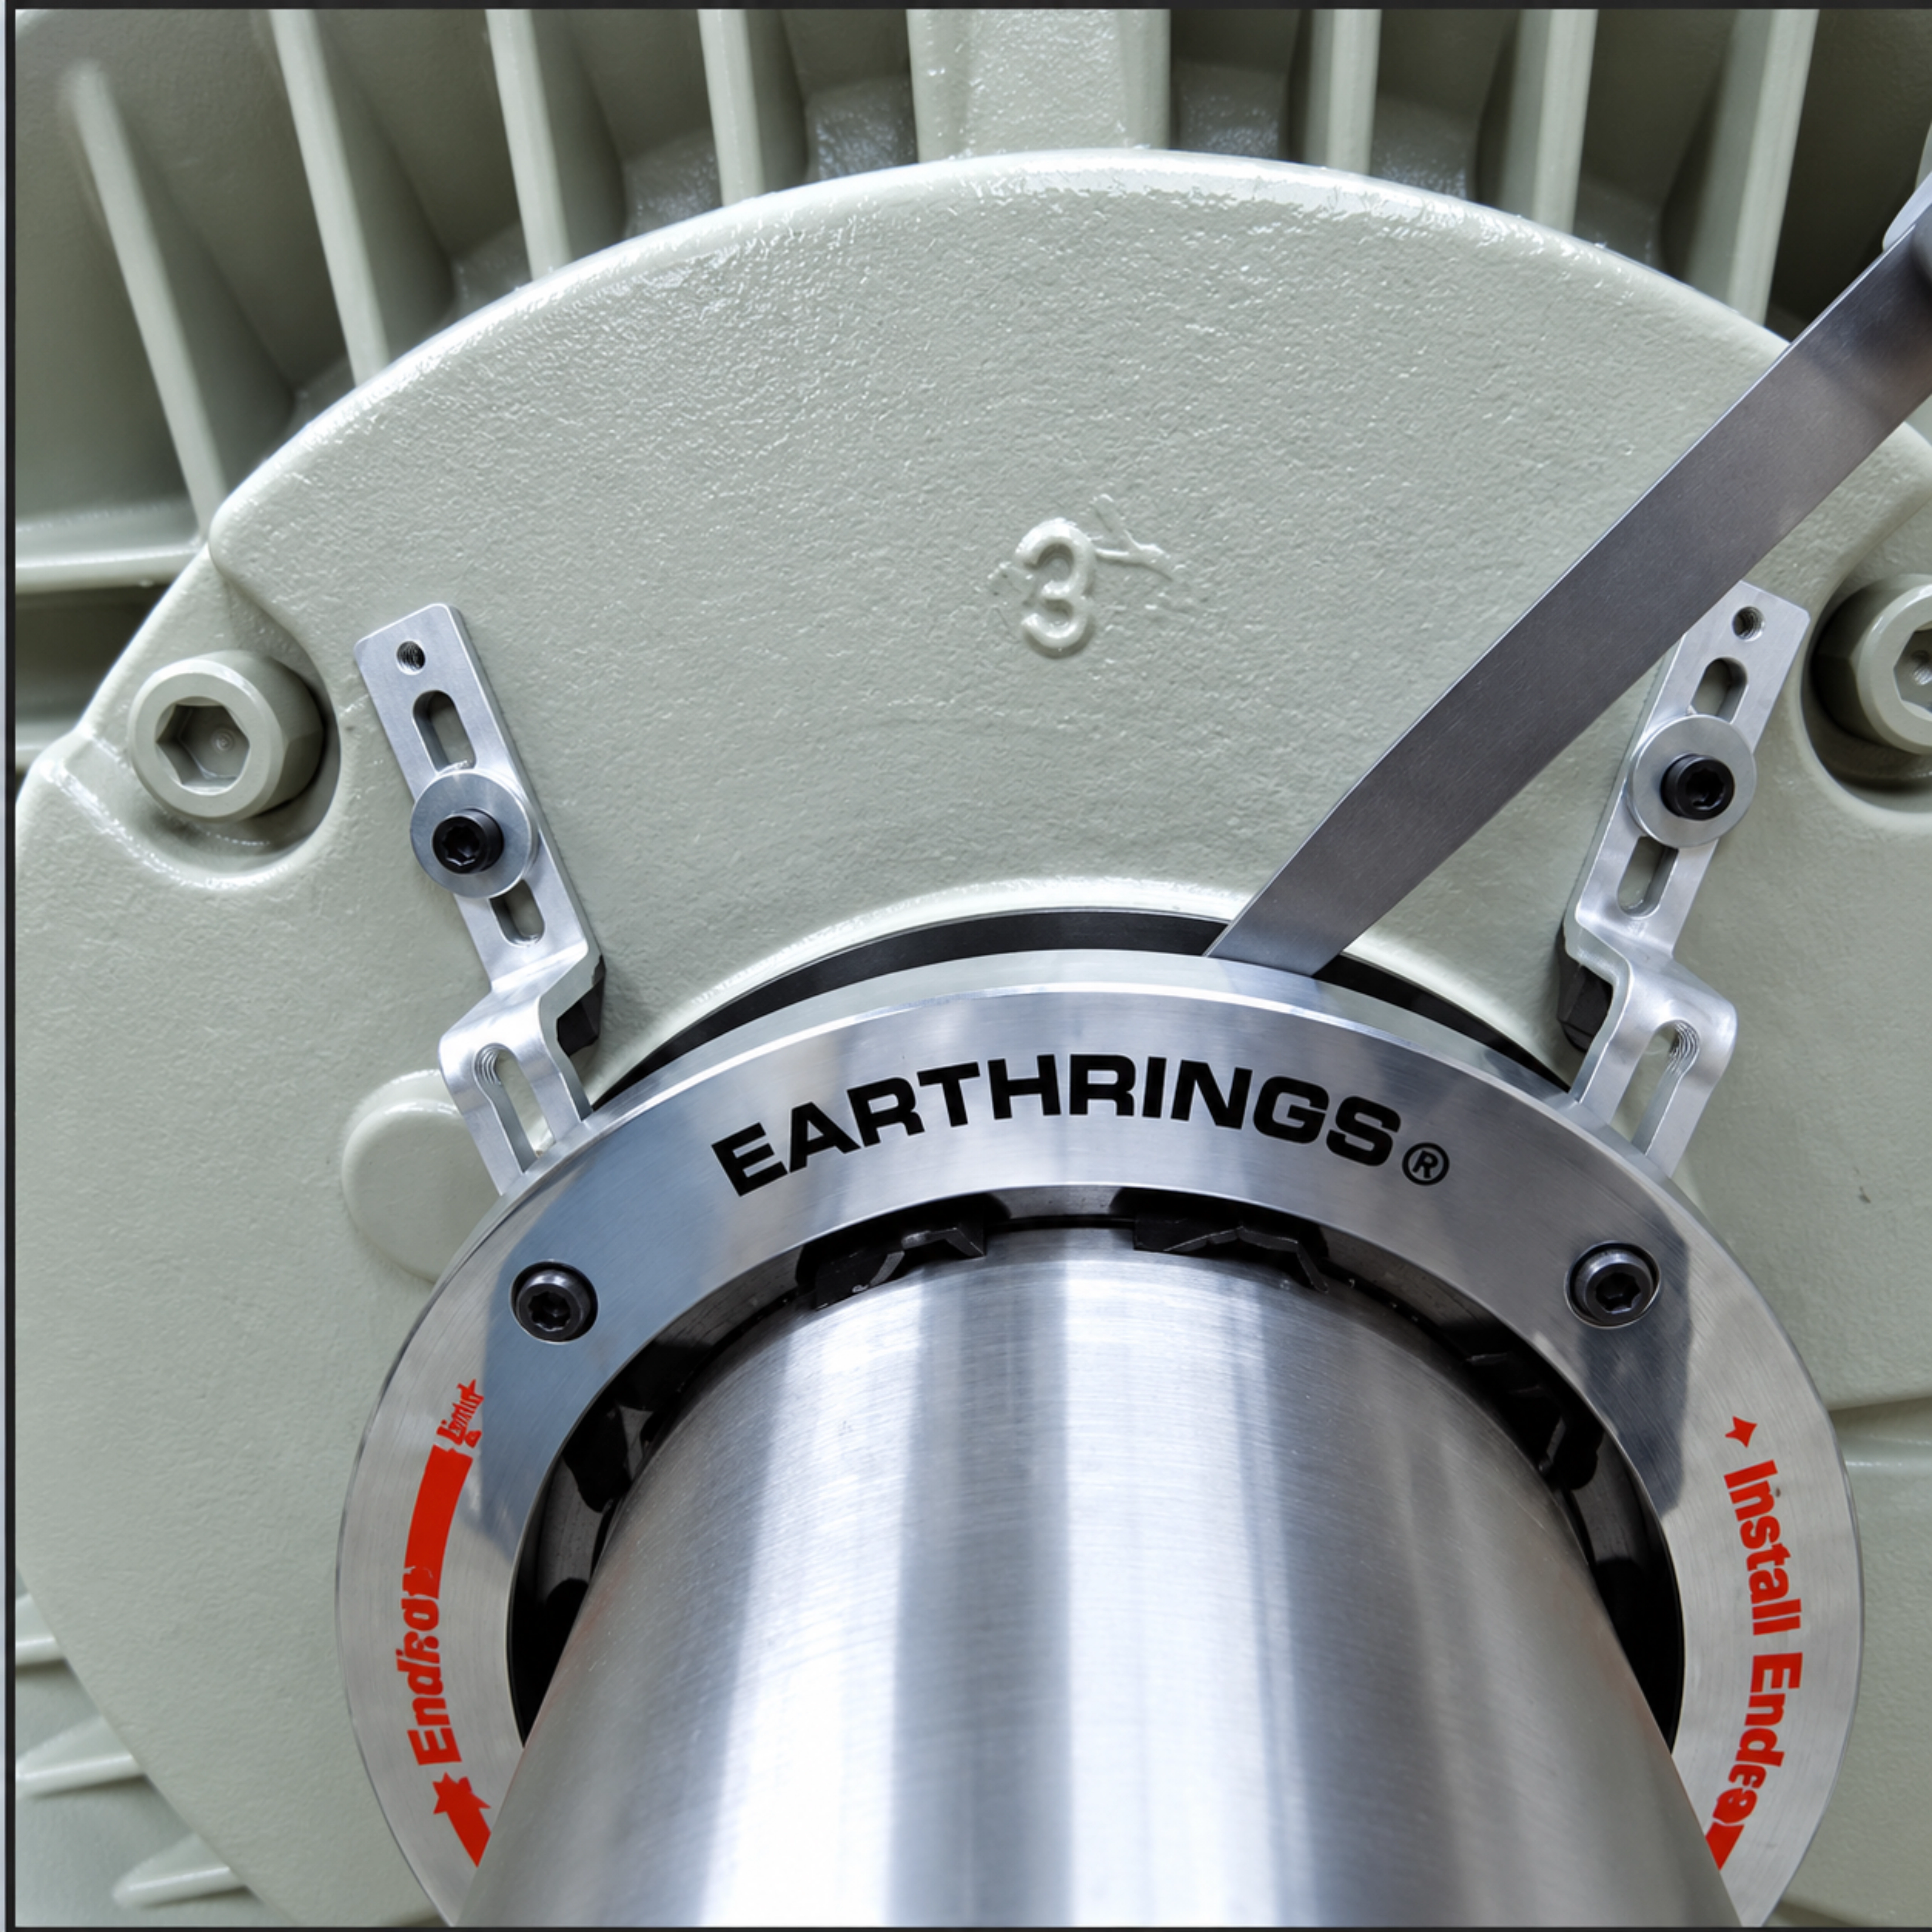
Use a 1mm feeler gauge to confirm at least 1mm clearance from the shaft shoulder. Also check that the Earthring is vertically straight at 90° and parallel with the shaft and grease cover or endshield.
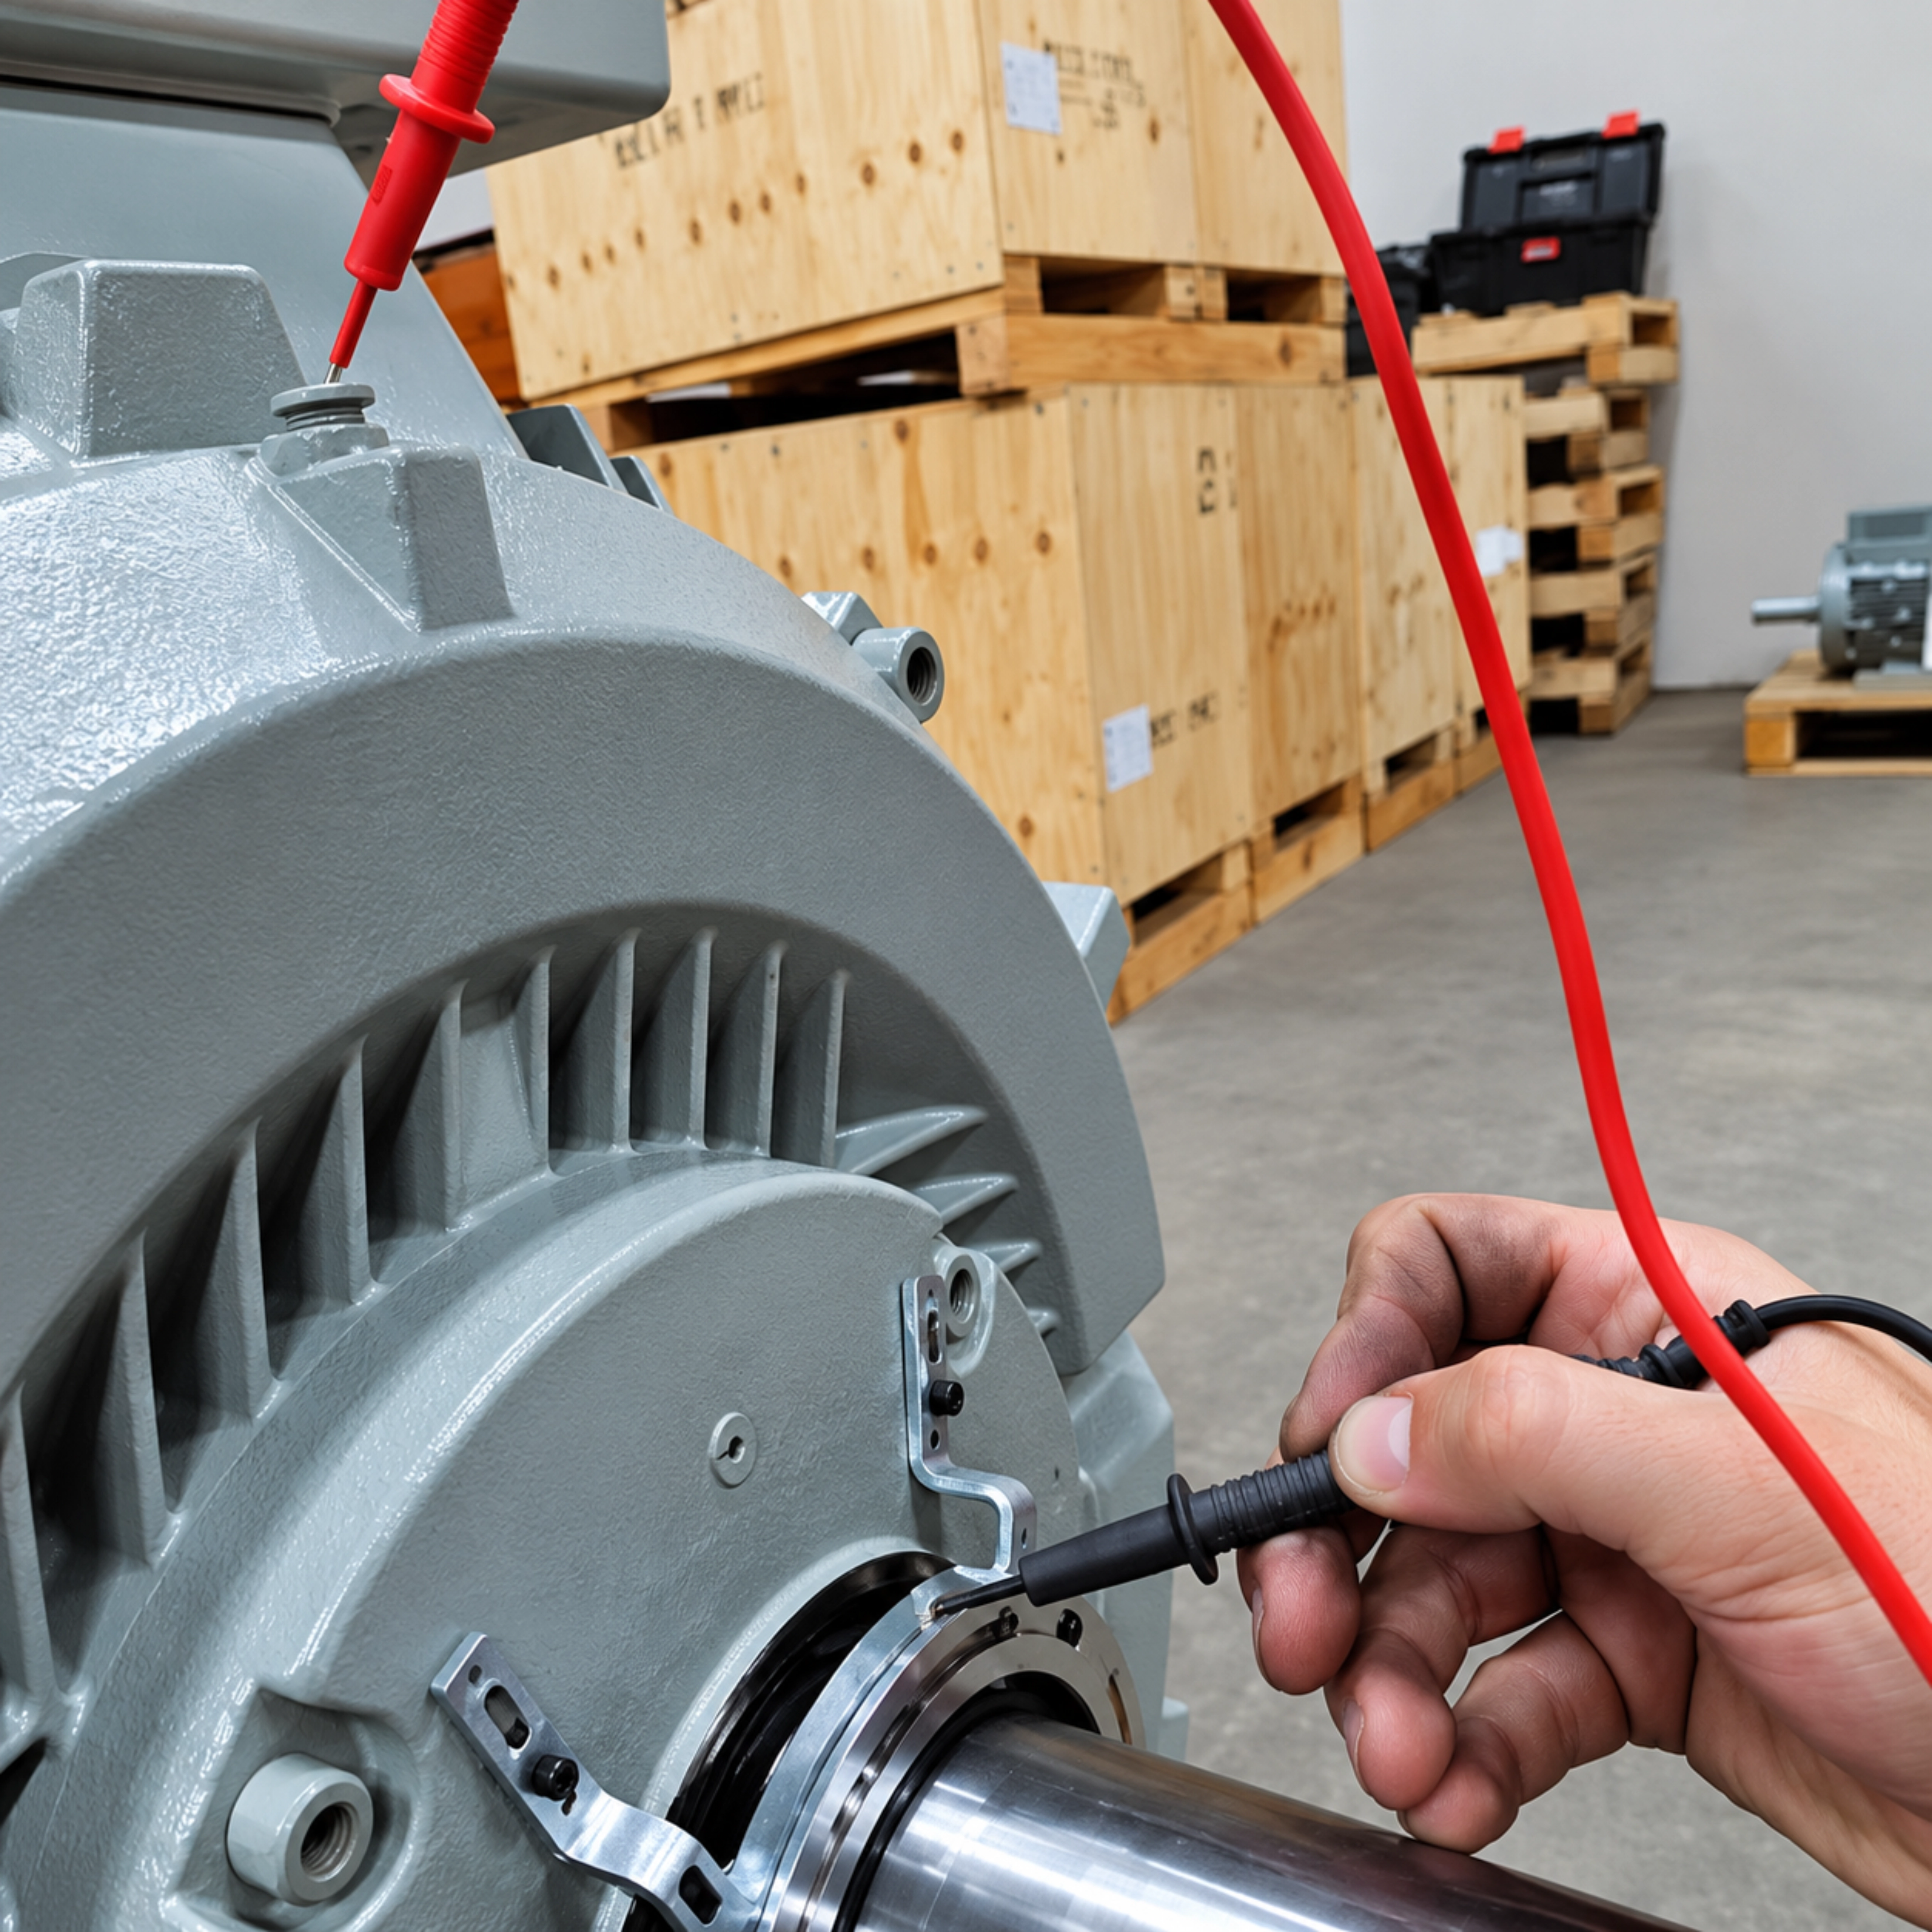
Check conductivity with a multimeter between the electric motor casing and the Earthring. The reading should be 1 ohm or less.
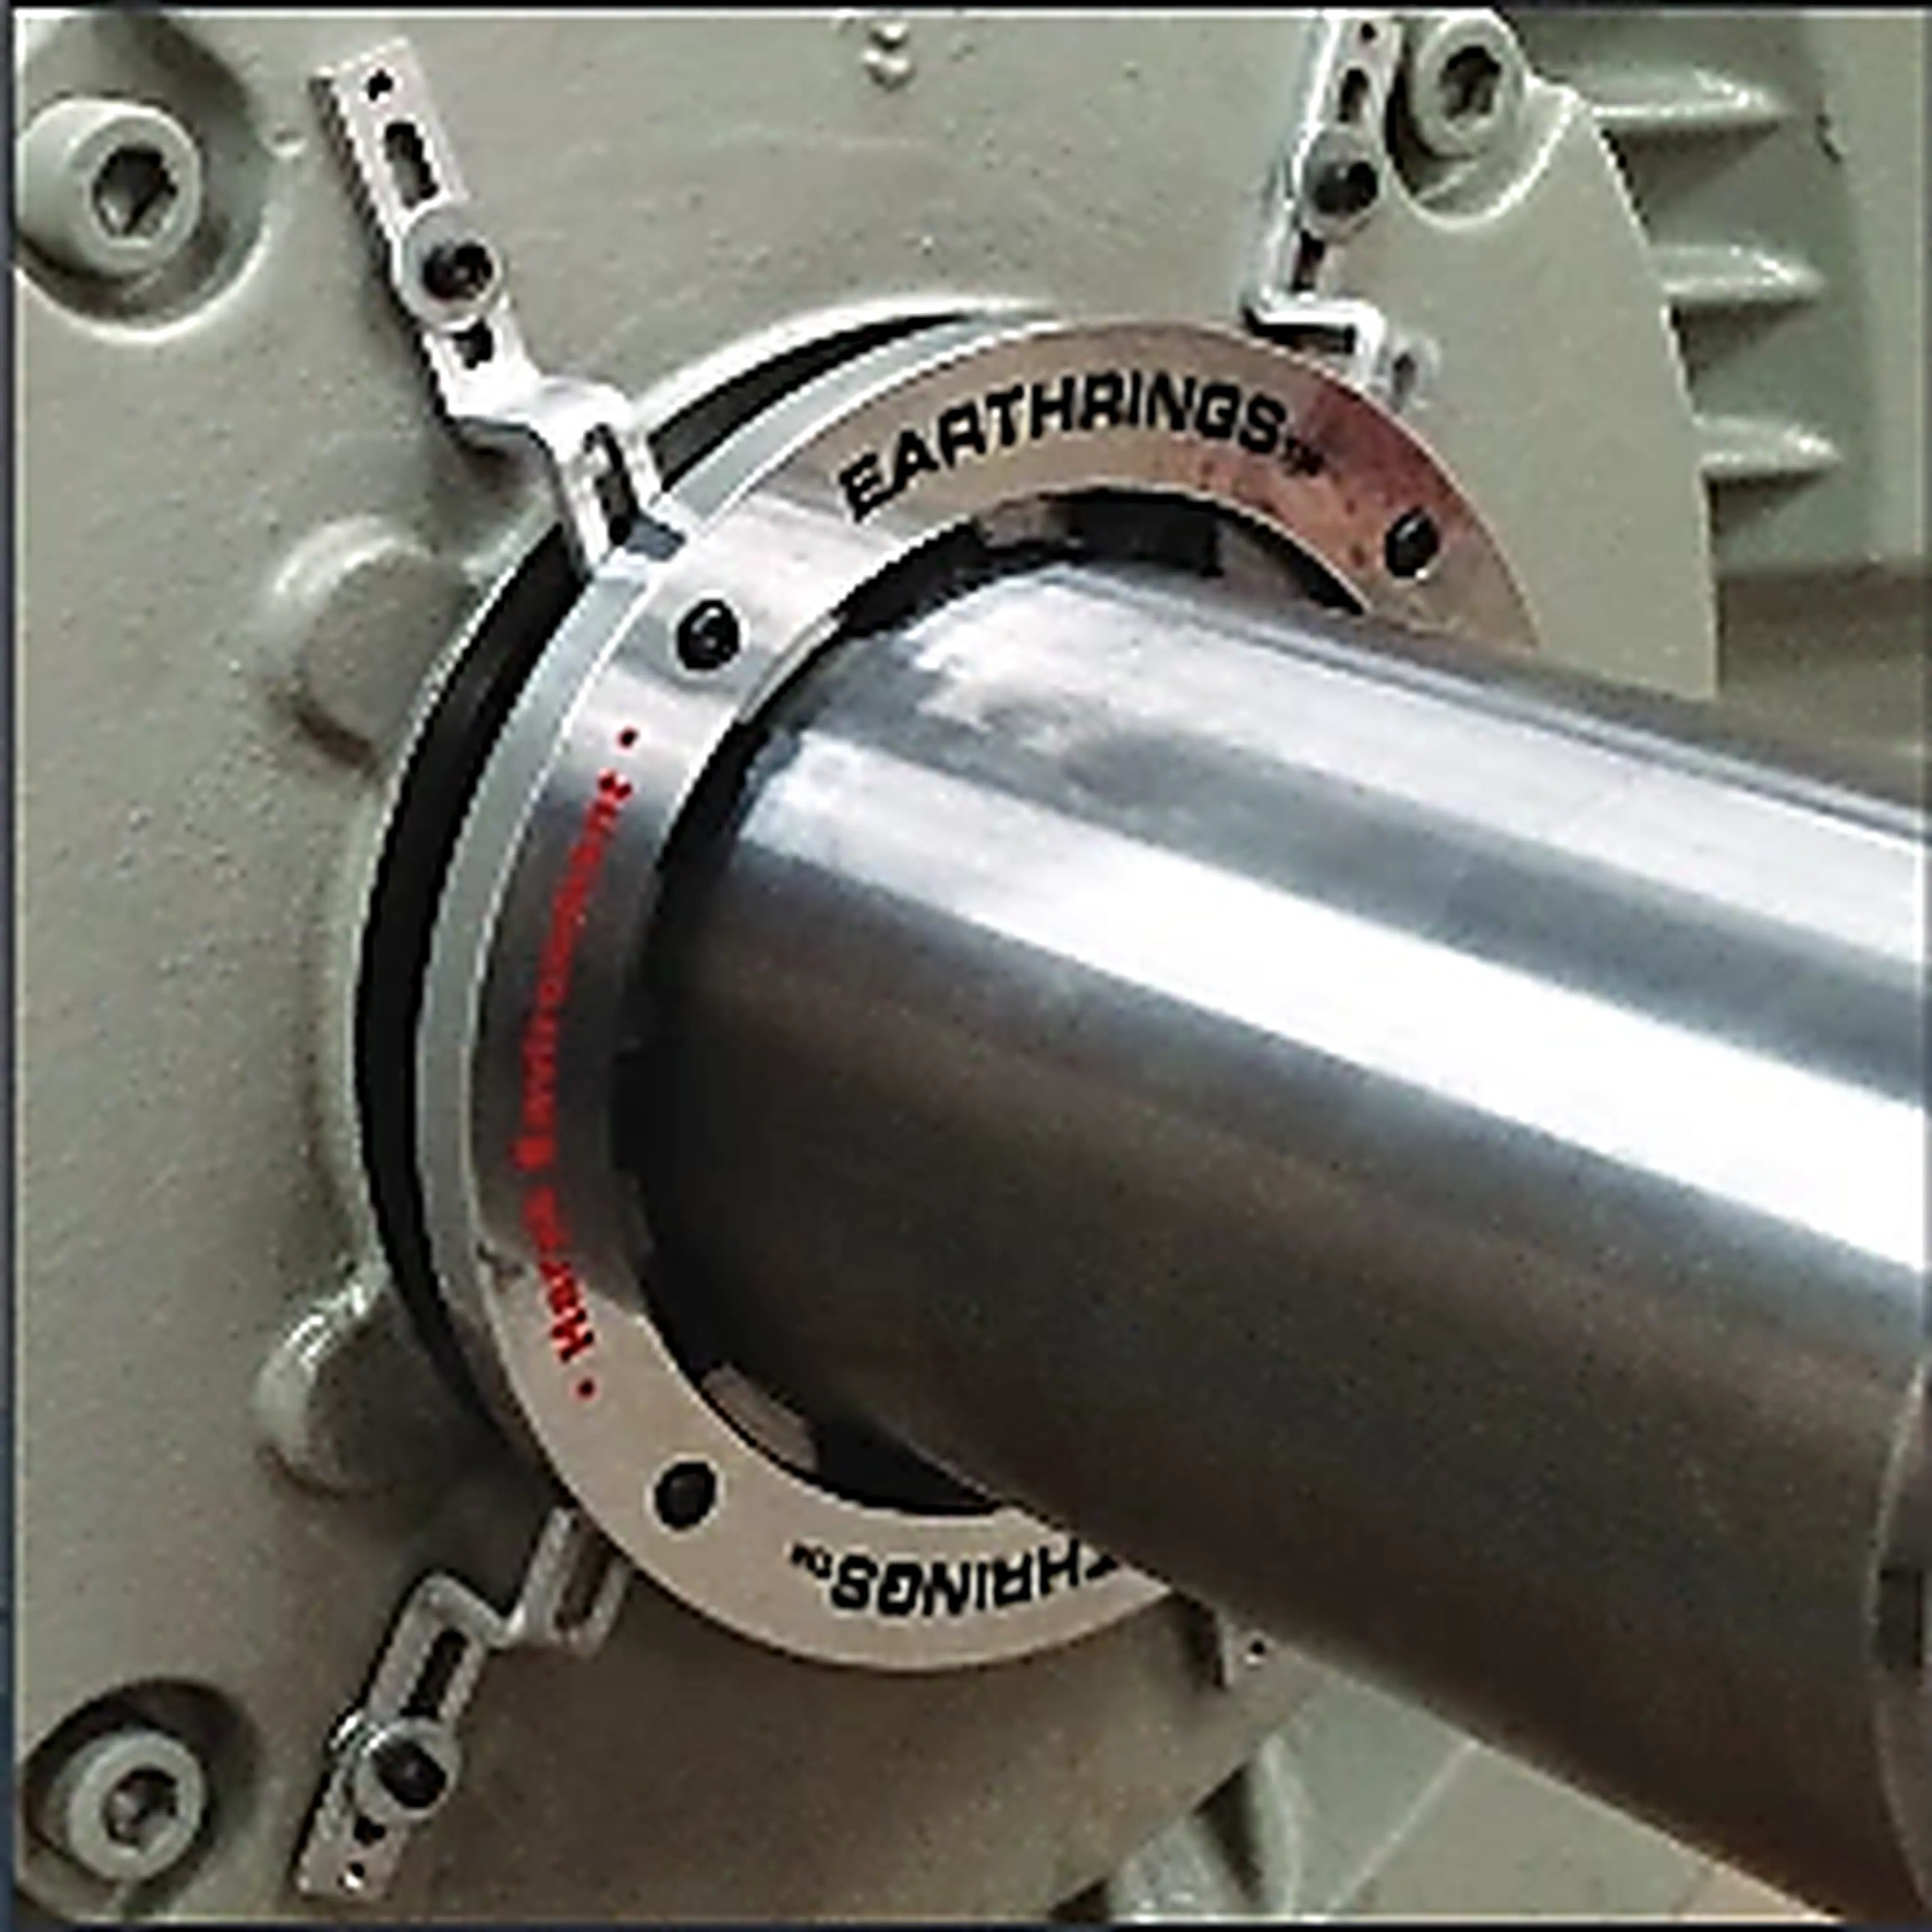
The Earthring installation is complete once the ring is correctly positioned, the required clearances are confirmed and the conductivity test meets the specified reading.
The original fitting guide is included from the supplied website assets.